If your
printed design is not positioned correctly on the disc, you can
adjust the print position. First, load an extra CD/DVD to use for
printing test patterns.
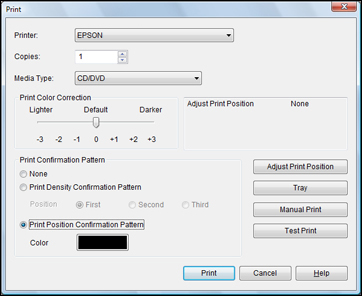
Open
your file in Epson Print CD and select Print. You see this screen:
Select
Print Position Confirmation
Pattern.
Click
Print.
Remove
the disc after printing.
Using a
metric ruler, measure the distance from the hole to the cross marks
labeled Top and Right.
Note: Be sure to
measure from the edge of the hole and not the edge of the printable
area.
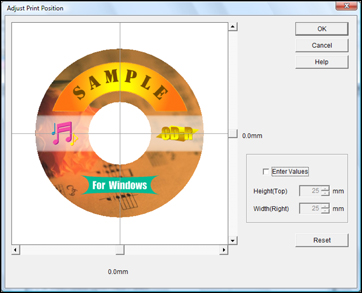
Click
Print again, then select
Adjust Print Position. You
see this screen:
Click
Enter Values, then select the
distance for Top into the Height
(Top) box and the distance for Right in the Width (Right) box.