Be sure you have your replacement cartridges handy before you begin. You must install new cartridges immediately after removing the old ones.
Caution:
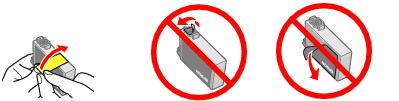
Do not open ink cartridge packages until you are ready to install the ink. Cartridges are vacuum packed to maintain reliability.
Remove the CD/DVD tray and close the CD/DVD tray guide cover before replacing ink cartridges.
Do not open ink cartridge packages until you are ready to install the ink. Cartridges are vacuum packed to maintain reliability.
Remove the CD/DVD tray and close the CD/DVD tray guide cover before replacing ink cartridges.
|
3.
|
Press the
|

Caution:
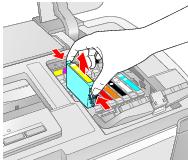
Don’t move the print head by hand or touch the flat white cable behind the print head to avoid damaging your printer.
Don’t move the print head by hand or touch the flat white cable behind the print head to avoid damaging your printer.

|
5.
|
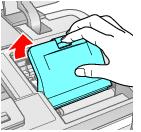
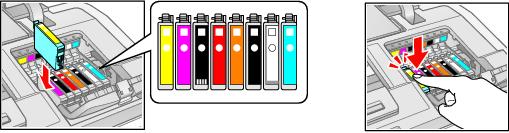
Squeeze the tab on the cartridge and lift the cartridge straight up to remove it. Dispose of it carefully. Do not take the used cartridge apart or try to refill it.
|
Warning:
If ink gets on your hands, wash them thoroughly with soap and water. If ink gets into your eyes, flush them immediately with water. Keep ink cartridges out of the reach of children.
If ink gets on your hands, wash them thoroughly with soap and water. If ink gets into your eyes, flush them immediately with water. Keep ink cartridges out of the reach of children.
Note:
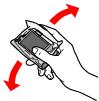
All the ink cartridges, except the gloss optimizer cartridge, make a clicking sound when you shake them.
All the ink cartridges, except the gloss optimizer cartridge, make a clicking sound when you shake them.
|
7.
|
|
10.
|

|
12.
|
Press the
|

When the  power light stops flashing and the
  ink light goes out, ink charging is finished.