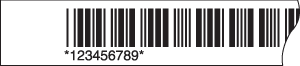
You can
create labels with a variety of barcode types for inventory
management and asset tagging, such as this one:
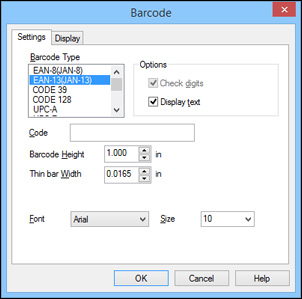
Click
the Barcode icon. You see
this window:
Select
the type of barcode you want to create.
To
include the code number beneath the barcode, select the
Display text checkbox.
Enter
the code number for your barcode in the Code box.
Enter
the barcode size, positioning, and font information as necessary,
and click OK. You see a
message about adding margins on the sides of your barcode.
Note: If you do
not want to see this message, select the Display tab on the Barcode window and uncheck
Message On.
Click
OK. You see the outline of
your barcode block.
Drag the
block where you want your barcode to appear, then click the block
to display it on your label.