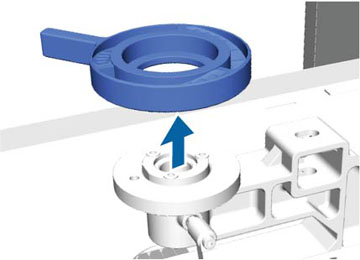
Lower the
height of the printing surface by removing the round platen height
indicator attached beneath the height adjustment lever.
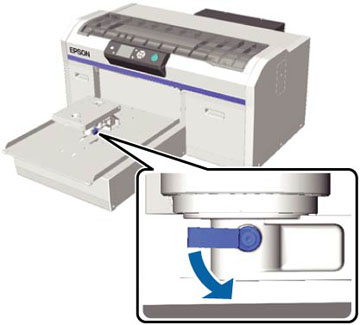
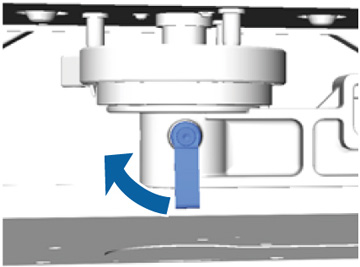
- If the
platen is not in the forward position, press the
 moveable base button to move the
platen forward.
moveable base button to move the
platen forward. - Hold the left and right sides of the platen and lift it off of the printer.
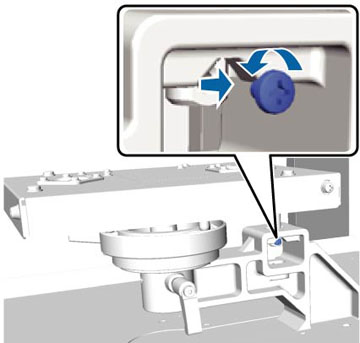
- Loosen the fixing lever.
- Remove the screw that secures the parallel adjustment plate. Keep the removed screw in a safe place.
- Remove
the parallel adjustment plate.
Note: Be careful not to drop the parallel adjustment plate; iIt is a precision component.
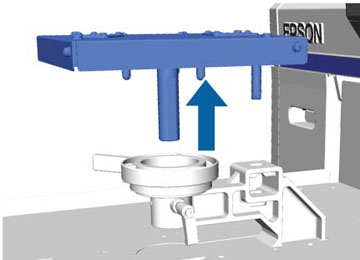
- Remove the three screws inside the height adjustment lever. Keep the removed screws in a safe place.
- Remove the height adjustment lever.
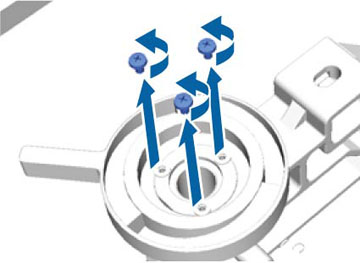
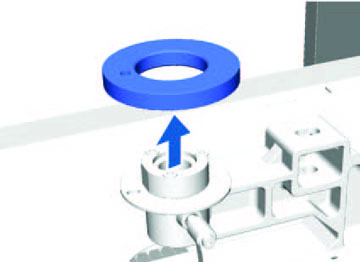
- Remove
the round platen height indicator attached beneath the height
adjustment lever.
Note: After removing the round platen height indicator, the current height position is not displayed. When loading media, follow the height adjustment procedure to adjust the height.
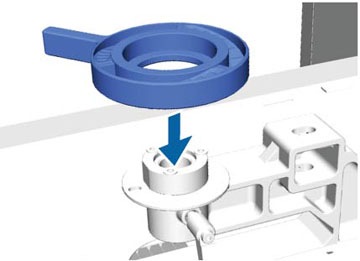
- Attach the height adjustment lever. Do not attach the screws you removed in step 7.
- Attach the parallel adjustment plate. Do not attach the screw removed in step 5.
- Tighten the fixing lever and secure the height adjustment lever.
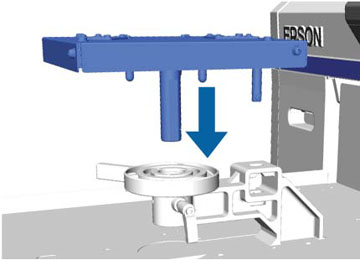
- Align the platen to fit into the holes in the moveable base and place the platen on the printer.