Selecting Print Settings - Windows Basic Driver

Select the settings for the document or photo you want to print.
  1. Open a photo or document for printing.
  2. Select the print command in your application.
    Note: You may need to select a print icon on your screen, the Print option in the File menu, or another command. See your application's help utility for details.
  3. If necessary, select your product name as the printer you want to use.
    Note: You may also need to select Properties or Preferences to view your print settings.
    You see the Layout tab of your printer settings window:


  4. Select the orientation of your document.
    Note: If you are printing an envelope, select Landscape.
  5. Select the page order and format for your document.
  6. Click the Paper/Quality tab. You see this screen:


  7. Select the type of paper you loaded as the Media setting.
    Note: The setting may not exactly match the name of your paper. Check the paper type settings list for details.
  8. Select a Color option:
    • To print text and graphics in black or shades of gray, select the Black & White setting.
    • To print a color document or photo, select the Color setting.
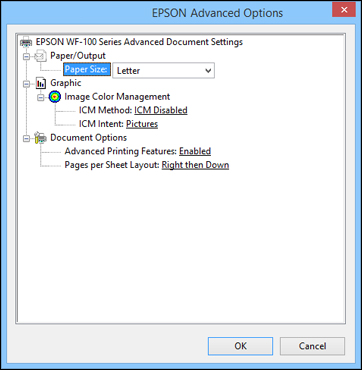
  9. Click Advanced. You see this screen:


  10. Select the size of the paper you loaded as the Paper Size setting.
  11. Click OK to save your settings.
  12. On the next screen, click OK or Print to start printing.
Related tasks
Adjusting Print Density
Adjusting Color
Related references
Paper or Media Type Settings