If you
connect a different computer or adjust the computer's resolution,
the pen operation area is adjusted automatically to match your
mouse pointer position. If you notice that the pen position is
incorrect when using PC Interactive mode, you can adjust the pen
area manually.
Note: Manual
adjustment is not available when projecting from a LAN
source.
- Press the Menu button, select the Extended menu, and press Enter.
- Select the Easy Interactive Function setting and press Enter.
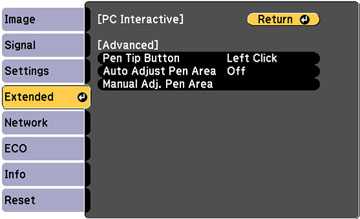
- Select
Advanced in the PC Interactive
section and press Enter.
Note: Make sure the Auto Adjust Pen Area option is set to Off to prevent changes to your manual pen area adjustments.
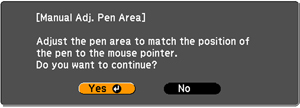
- Select Manual Adj. Pen Area and press Enter. You see this screen: