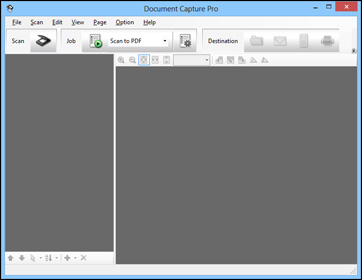
You can scan
both sides of a double-sided or folded original with Epson Scan's
Stitch Images settings.
- Load your original in the scanner.
- Do one of the following to start
Document Capture Pro (Windows) or Document Capture (OS X):
- Windows 8.x: Navigate to the Apps screen and select Document Capture Pro.
- Windows (other versions): Click
 or Start, and select All
Programs or Programs. Select
EPSON Software, then select
Document Capture Pro.
 - OS X: Open the Applications folder, select the Epson Software folder, and select Document Capture.
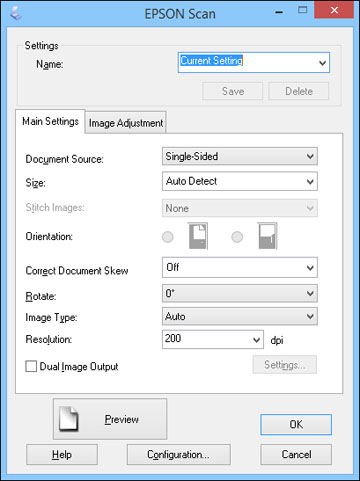
- Do one of the following to access the Epson Scan settings: You see an Epson Scan window like this:
- Select Double-Sided as the Document Source setting.
- Select the original document size as the Size setting.
- Select one of the following as the Stitch Images setting:
- With Windows, click OK.
- Click
Scan. The scanned image is
displayed.
Note: If the scanned images are not stitched together correctly, click Configuration on the Epson Scan window and select the Binding Position (for Double-Sided Scanning) setting on the Document tab.

