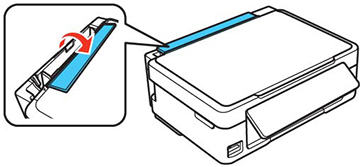
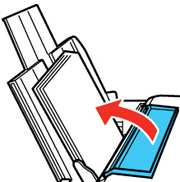
- Flip the feeder guard forward.
- Pull up the paper support and its extension.
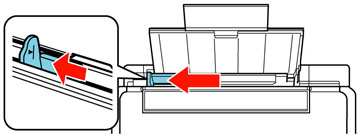
- Pull out the output tray and open the paper stopper on the
end.
Note: If you print on legal-size or longer paper, leave the paper stopper closed.
- Slide the edge guide left.
- If you are inserting a stack of paper, fan the sheets
first and tap the stack on a flat surface to even the edges.
Note: Do not fan or curl photo paper.
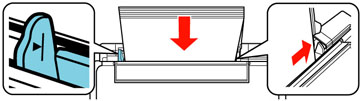
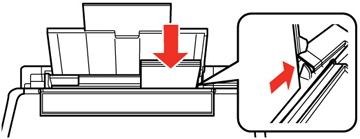
- Insert paper, glossy or printable side up and short edge first, against the right side and beneath the line on the left edge guide.
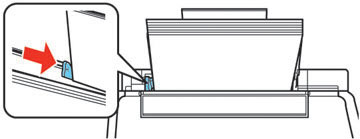
- Slide the edge guide against the paper, but not too tightly.
- Flip the feeder guard back.
- Select the size and type
of paper you just loaded on the product LCD screen. To use the existing settings, press the OK button. If you
want to change the settings, press the up or down arrow buttons to
select Change, then press the
OK
button. Select the paper size and press the OK button, then
select the paper type and press the OK button.
Note: To prevent the paper setup screen from appearing automatically when you load paper, select the Setup > Printer Setup > Paper Source Settings > Paper Configuration setting and set it to Off. (This will also disable AirPrint.)