You
can use the projector's Curved Surface setting to adjust the shape
of an image projected on a curved surface (PowerLite Pro
G6870/G6970WU).
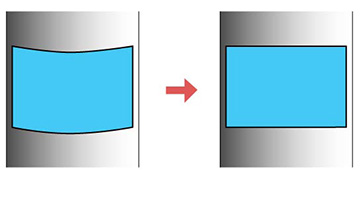
Note: For the best
results, project from the front of the screen onto a surface with a
uniform arc radius and with the lens centered horizontally using
lens shift. The image may not be evenly focused throughout even
after performing the steps here.
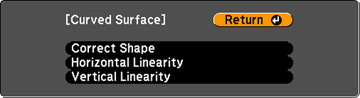
- Select the Settings menu and press Enter.
-
Select the Curved Surface
setting and press Enter.
Note: If you see a confirmation message, press Enter.You see this screen:
-
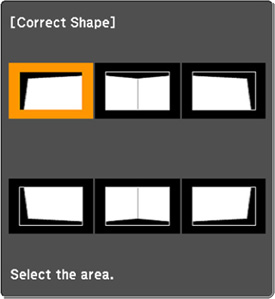
Use the arrow buttons on the projector or the remote control
to select the area you want to adjust. Then press Enter.
Note: To reset your adjustments, press the Esc button for at least 2 seconds to display a reset screen, and select Yes.
-
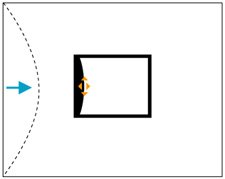
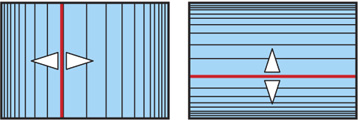
Use the arrow buttons on the projector to adjust the image
shape.
Note: If the adjustment triangle turns gray, you cannot adjust the shape any further in that direction.
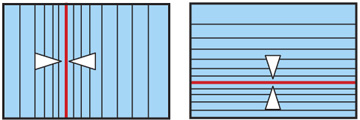
- Adjust the linearity by doing one of the following: