You
can attach a compatible lens to the projector.
Caution:
Place the projector so it faces to the side or
down to attach a lens to help prevent dirt or dust from entering
the projector and lowering the projection quality. Be sure to
attach only a compatible lens. Avoid touching the lens with your
bare hands to prevent fingerprints on or damage to the lens
surface.
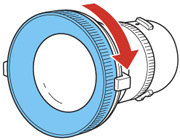
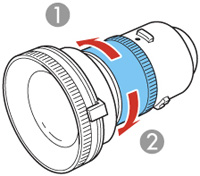
- Turn the focus ring as shown until it stops.
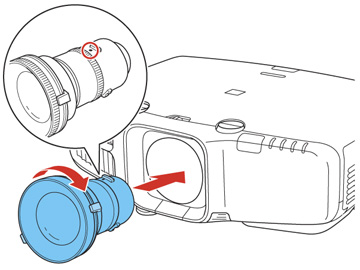
- Hold the lens unit with the white dot facing up. Insert the lens unit straight into the projector's lens socket and turn it clockwise until you hear it click into place.
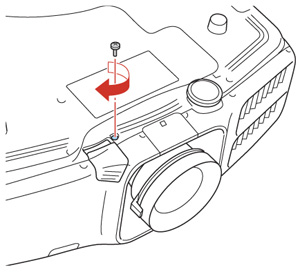
- Insert the screw that came with the projector or the lens unit, and tighten it. This secures the lens unit release button and prevents the lens from accidentally being removed.