Connecting Directly to a Laptop or Computer

You can connect directly to your projector from a single laptop or computer with a quick wireless connection.
Note: Depending on your projector model, you may need to purchase the optional wireless LAN module.
  1. Download and install the EasyMP Network Projection software on your computer or laptop.
  2. Connect the wireless LAN module to the USB-A (flat) port on your projector, if necessary (PowerLite 1224).


  3. Press the Menu button on the projector or the remote control.
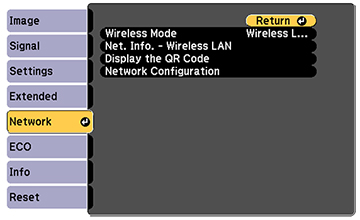
  4. Select the Network menu and press Enter.


  5. Select Network Configuration and press Enter.
  6. Select the Basic menu and press Enter.


  7. Select Projector Name and press Enter.
  8. Enter a name you can easily identify and select Finish.
    Note: You will select the Projector Name when you want to connect to your projector.
  9. Select the Wireless LAN menu and press Enter.
  10. Select Connection Mode and press Enter.
  11. Select Quick and press Enter, then press Enter again.
  12. When you finish selecting settings, select Complete and follow the on-screen instructions to save your settings and exit the menus.
  13. In the list of wireless networks on your laptop or computer, select your projector's name.
    Note: This is the Projector Name you entered in the projector's Basic menu.
  14. Start the EasyMP Network Projection software on your laptop or computer.
  15. Select Quick Connection Mode and click OK.
  16. Select your projector and click Connect.
Your laptop or computer and projector are now connected over a wireless network.
Related tasks
Installing the Wireless LAN Module
Selecting Wireless Network Settings Manually
Selecting Wireless Network Settings in Windows
Selecting Wireless Network Settings in OS X