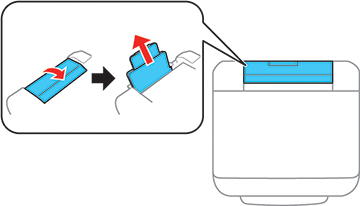
- Flip the feeder guard forward and pull up the paper support and extension.
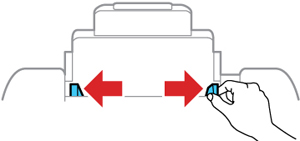
- Slide the edge guides outward.
- If you are inserting a stack of paper, fan the sheets and tap the stack on a flat surface to even the edges.
- Do one of the following:
- Insert paper,
glossy or printable side up and short edge first, in the center of
the slot.
Caution:To prevent paper feeding problems, make sure you do not load paper above the arrow marks inside the edge guides.
- Load envelopes short edge first, with the flap facing down and the flap edge to the left, in the center of the slot.
- Insert paper,
glossy or printable side up and short edge first, in the center of
the slot.
- Slide the edge guides against the paper or envelope, but not too tightly.
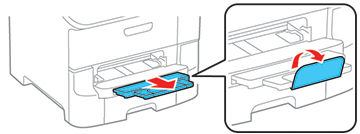
- Extend the output tray and flip open the paper stopper.
- Select the size and type of paper you loaded on the product LCD screen.


Always follow
these paper loading guidelines:
- Load only the recommended number of sheets.
- Load paper short edge first, no matter which way your document faces.
- Load the printable side faceup.
- Load letterhead or pre-printed paper top edge first.
- Do not load paper above the arrow mark inside the edge guides.
- If you have trouble loading a stack of envelopes, press each envelope flat before loading it or load one envelope at a time.
- If print quality declines when printing multiple envelopes, try loading one envelope at a time.
- Do not load envelopes that are curled, folded, or too thin.
- Check the paper package for any additional loading instructions.