- Load a few sheets of plain paper in the sheet feeder.
- Do one of the following:
- Windows: Access the Windows Desktop and right-click the product icon in the Windows taskbar.
- In the Apple
menu or the Dock, select System
Preferences. Select Print & Fax, Print & Scan, or Printers & Scanners, select your
product, and select Options &
Supplies. Select Utility
and select Open Printer Utility.
Note: Do not use the Clean Print Heads button on the Utility tab of the driver to perform head cleaning on your product. Use only the Epson Printer Utility 4 utility.
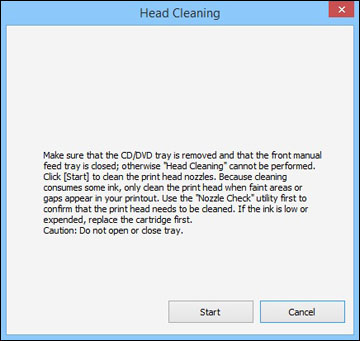
- Select Head Cleaning. You see a window like this:
- Click Start to begin the
cleaning cycle. The
 power light flashes throughout
the cleaning cycle and stays on when the cleaning cycle is
finished.
Caution:Never turn off the product during a cleaning cycle or you may damage it.
power light flashes throughout
the cleaning cycle and stays on when the cleaning cycle is
finished.
Caution:Never turn off the product during a cleaning cycle or you may damage it. - When the cleaning cycle is finished, you can check to see if the nozzles are clean; click Print Nozzle Check Pattern and click Print.
- Check the printed pattern to see if there are gaps in the
lines.
Print head is clean
Print head needs cleaning