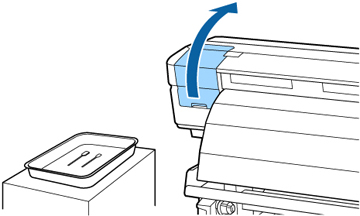
- Open the left maintenance cover.
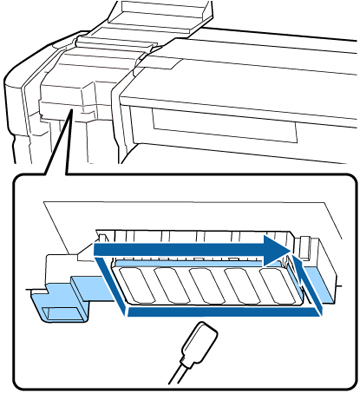
- Using a cleaning stick, wipe off any ink from the parts shown here in the direction of the arrow. Use the tip of the cleaning stick to remove any lint or dust from the area.
- Repeat step 3 to clean the right print head as shown here.
- Using the tip of a small cleaning
stick and wiping in one direction, clean any ink from between the
nozzles on both print heads as shown here. Clean only the areas
shown below.
Caution:Do not press on the nozzles with excessive force or you may damage them. Do not move the cleaning stick back and forth; wipe in one direction only.
- Dampen the large cleaning stick with the ink cleaner, then wipe away any dust and dirt on the front, back, and sides of the wiper blade.
- Wipe away ink stains and so on from
the print head surface by moving the cleaning wiper from the inside
toward you once.
Caution:Your cleaned print heads should look like this:
If any dust or lint remains on the print head, clean it again using the the cleaning wiper.