If ink
smears onto your printed media even after cleaning the print head,
you should perform head maintenance to clean inside the product
near the print head.
- Press
the left or right arrow on the product control panel to highlight
the
 tab and press the
OK button. You
see the Maintenance menu on the
product control panel screen.
tab and press the
OK button. You
see the Maintenance menu on the
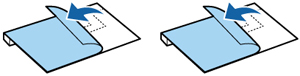
product control panel screen. - Peel the backing off of the pads in the head maintenance kit.
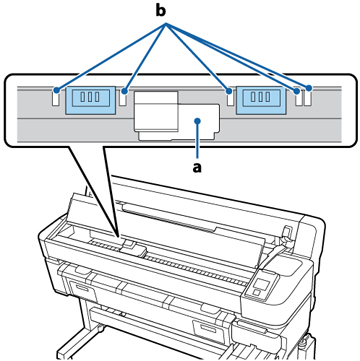
- Place the pads on the platen on both
sides of the print head (a).
Caution:Make sure the pads do not cover the ink absorbing areas (b) on the platen so the pads do not stick to them. Do not move the print head by hand; this can damage your product.
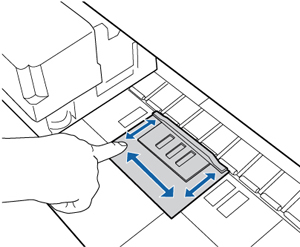
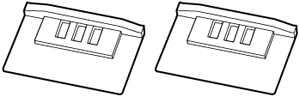
- Press the edge of each pad against the
rollers as shown.
Note: Make sure there are no gaps between the pads and the rollers or head maintenance will not be performed properly.
- Rub the areas shown here to secure the
pads to the platen.
Caution:Do not press too hard on the pad or you could damage the platen.