- When you see the Know Your
Wireless Network screen, click Next (Windows) or Continue (OS X).
- At the next screen, make
sure your product has finished priming the ink, then click
Next (Windows) or Continue (OS X).
- When you see this screen, connect a USB cable as shown and
wait for the installer to detect your product.
Note: If your
product is not detected, make sure that it is turned on.
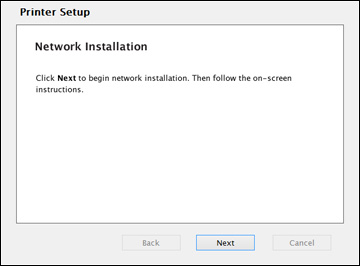
- When you see this screen, click Next (Windows) or Start Network Setup (OS X).
- When you see the Firewall Warning screen, click
Next.
Note: If you
see a firewall alert message, click Unblock or Allow to let EpsonNet Setup continue. Do not
select Ask Me Later, Keep Blocking, or Block.
- Do one of the
following:
- Windows: If
you have a wireless computer or laptop, go to step 10.
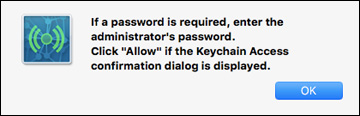
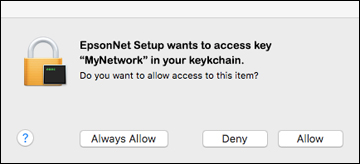
- OS X: If
you have a wireless computer or laptop and you see the following
messages, click OK and click
Allow to let EpsonNet Setup
access your password information. Then continue with step 7.
- All other users: Continue with step 8.
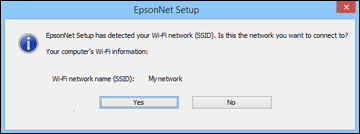
- If you see this screen,
click Yes (Windows) or
OK (OS X), then go to step
10.
- If you see this screen,
wait while your system searches for your network name (SSID), then
select the SSID from the displayed list and click Next.
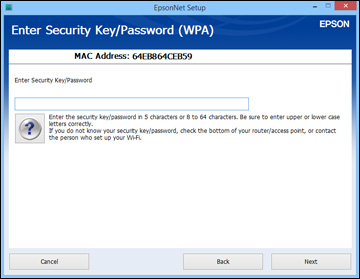
Note: If your
WPA passphrase contains upper- or lowercase letters, be sure to
note it correctly. If you do not know your wireless network name
(SSID), WEP key, or WPA passphrase, contact the person who set up
your wireless network before continuing.
- When you see this screen,
enter your network password and click Next.
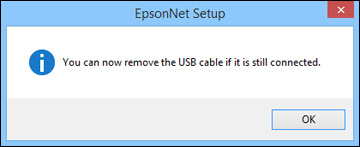
- Wait several minutes for
wireless network configuration to finish and display a confirmation
message. When you see this prompt, disconnect the USB cable and
click OK. Then click Finish on the Installation Complete
screen.
- OS X: When you see this screen, click
Add Printer and follow the
on-screen instructions to add your product and the print queue to
your system. Then click Continue.
Note: Be sure
to select your Epson product in the Use or Print
Using drop-down list.
- When you see this screen,
print a test page and click Next
(Windows) or Continue
(OS X).
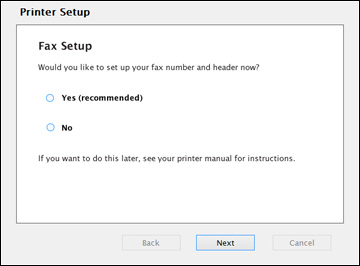
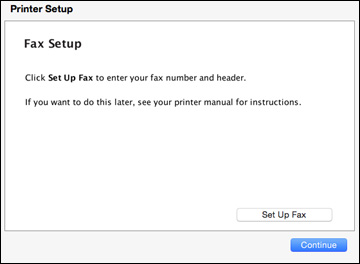
- Do one of the following to
set up faxing:
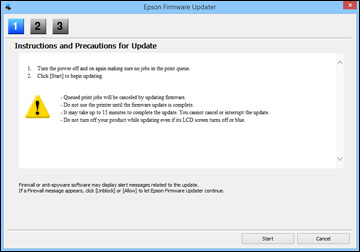
- Windows: The system begins searching for the
latest firmware for your product. If you see this screen, new
firmware is available. Click Next
and follow the on-screen instructions. When you are ready, click
Start and wait for the firmware
update to finish.
IMPORTANT: DO
NOT TURN OFF YOUR PRODUCT OR INTERRUPT THE FIRMWARE SEARCH PROCESS
IN ANY WAY.
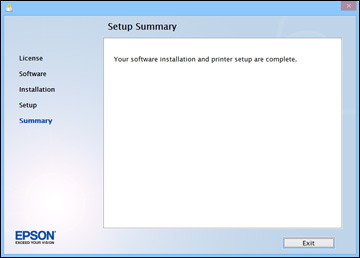
- Follow the on-screen
instructions to complete product setup. When you see this screen,
click Exit (Windows) or
Close (OS X) to close the
installation program.