- When you see the Know Your Wireless Network screen, click Next (Windows) or Continue (OS X).
- Follow the on-screen instructions to select your wireless network settings from your product control panel. When you finish, continue with the steps here.
- When you see the Firewall
Warning screen, click Next.
Note: If you see a firewall alert message, click Unblock or Allow to let EpsonNet Setup continue. Do not select Ask Me Later, Keep Blocking, or Block.
- OS X: When you see this screen, click
Add Printer and follow the
on-screen instructions to add your product and the print queue to
your system. Then click Continue.
Note: Be sure to select your Epson product in the Use or Print Using drop-down list.
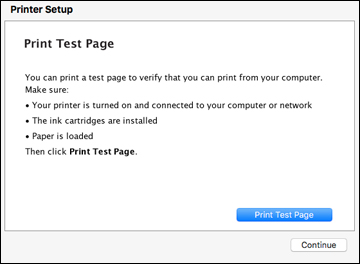
- When you see this screen, print a test page and click Next (Windows) or Continue (OS X).
- Windows: The system begins searching for the
latest firmware for your product. If you see this screen, new
firmware is available. Click Next
and follow the on-screen instructions. When you are ready, click
Start and wait for the firmware
update to finish.
IMPORTANT: DO NOT TURN OFF YOUR PRODUCT OR INTERRUPT THE FIRMWARE SEARCH PROCESS IN ANY WAY.
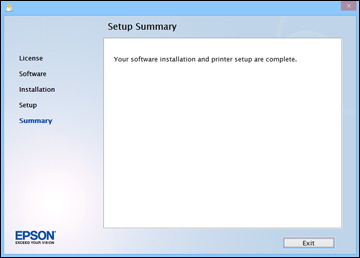
- Follow the on-screen instructions to complete product setup. When you see this screen, click Exit (Windows) or Close (OS X) to close the installation program.