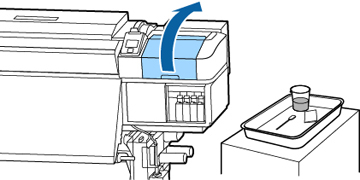
- Open the right maintenance cover.
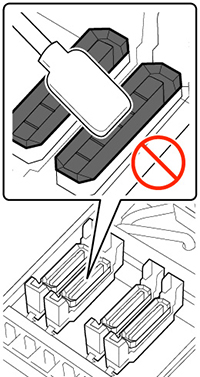
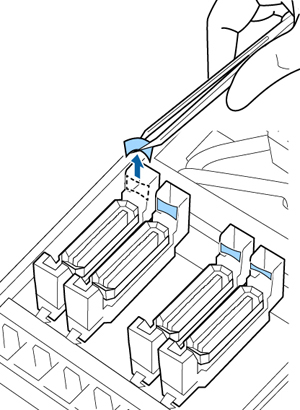
- Hold the
cleaning stick flat against the top edges of the cap and wipe in
the direction shown. Clean the top edges of each cap.
Caution:
- Use the flat side of the cleaning stick to clean the outside of each cap.
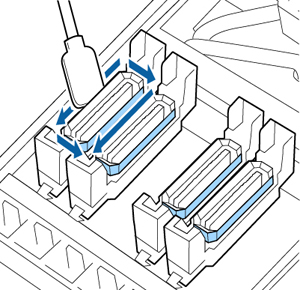
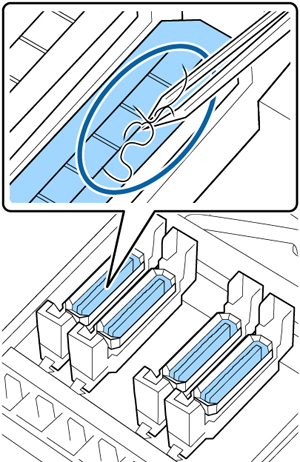
- If the guides require cleaning, dampen a new cleaning stick with ink cleaner and use it to clean the areas shown.
- If a film of ink remains after cleaning with the cleaning stick, use tweezers to remove it.
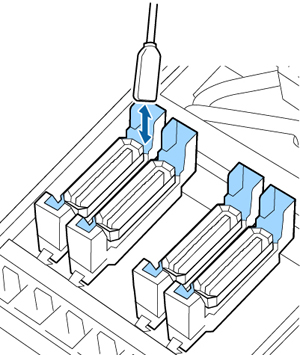
- Remove any lint or dust from the inside of the caps using the tip of a cleaning stick or tweezers.
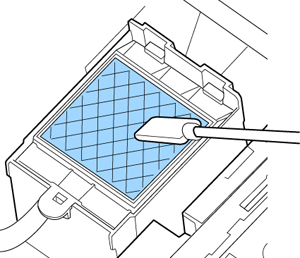
- Wipe off any lint or dust from the flushing pad using the tip of a cleaning stick.