You need to
attach the roll core to the auto-take up reel before you can load
paper onto the take-up reel.
Note: Make sure
the paper is the same width as the roll core. If the paper and roll
core are different widths, the paper may not wind
correctly.
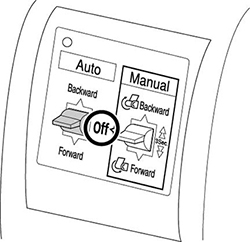
- Set the Auto switch on the take-up reel to the Off position.
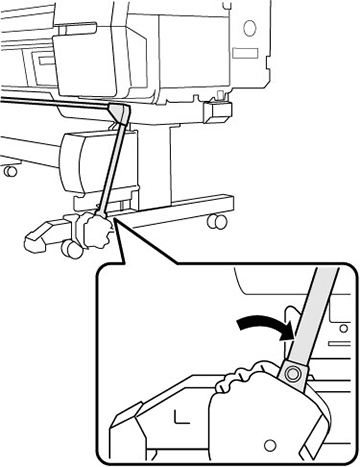
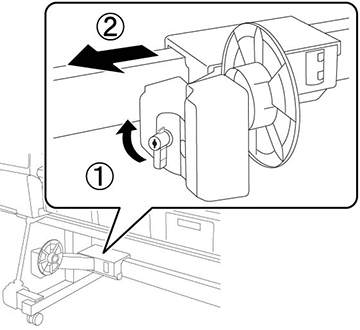
- Move the support bar to the storage position.
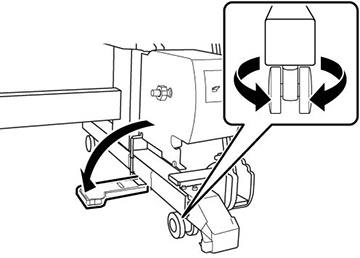
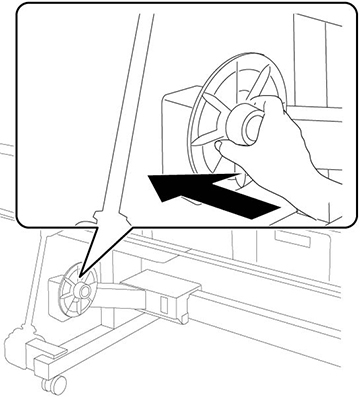
- Make sure the inner take-up reel
sensor is lowered and the caster is positioned parallel to the
printer stand.
Note: If the caster is not positioned parallel to the printer stand, it may interfere with the take-up reel sensors.
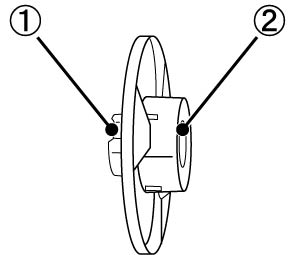
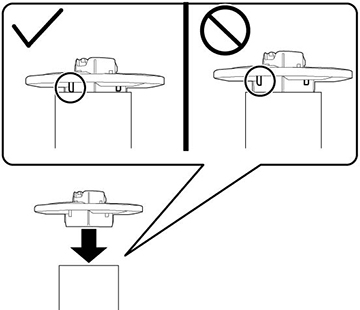
- Install the roll core holder with the
side that matches the size of the paper core facing out.
1 2 inches (51 mm) 2 3 inches (76 mm) - Attach the roll core holder to the paper stop and push it in until it clicks into place.
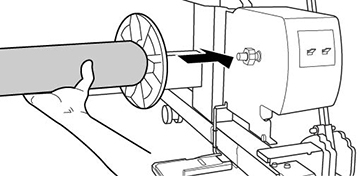
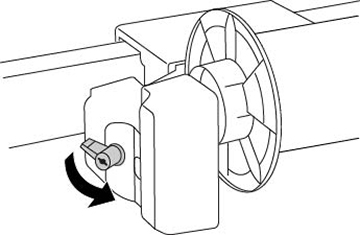
- Unlock the paper stop and slide it to the left.
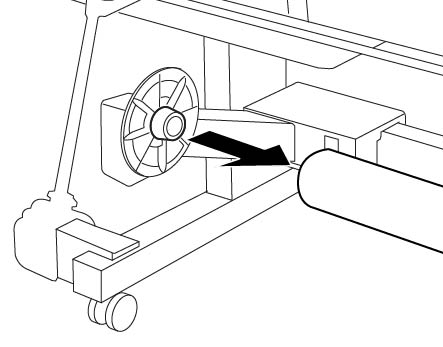
- Insert the right roll core holder into the roll core until the raised edges on the roll core holder touch the roll core.
- Attach the roll core to the auto take-up reel and push it in until it clicks into place.
- Slide the paper stop to the right and
insert the roll core holder into the left end of the roll
core.
Note: Make sure the raised edges on the roll core holder touch the roll core.
- Lock the paper stop in place.