You can
project from a computer, tablet, video device, or other source and
annotate over your projected content using the interactive pens or
your finger. You can use one pen, both pens at the same time, or a
combination of pens and finger touch.
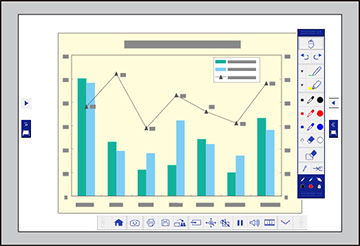
- Project an image from a connected device.
- Hover near or tap the board or projected image with the
interactive pen or your finger. Tap the
 built-in annotation mode
icon on the toolbar. You see the main toolbar on the side
and the projection control toolbar on the bottom of the projected
image.
built-in annotation mode
icon on the toolbar. You see the main toolbar on the side
and the projection control toolbar on the bottom of the projected
image.
- To move the main toolbar to the other side of the screen,
tap the
 arrow on the opposite side
of the screen.
Note: You can use the pen or your finger to move the arrow icon up or down to reposition the toolbar.
arrow on the opposite side
of the screen.
Note: You can use the pen or your finger to move the arrow icon up or down to reposition the toolbar. - To switch to one of the other interactive modes, do one of the following:
- To close the main toolbar, select the
 icon at the bottom of the
toolbar.
icon at the bottom of the
toolbar.
- To show or hide the projection control toolbar, select the
 or
or  arrow.
Note: You can also show or hide the projection control toolbar by setting the Extended > Display > Projector Control setting to On or Off.
arrow.
Note: You can also show or hide the projection control toolbar by setting the Extended > Display > Projector Control setting to On or Off.