If the
cursor location and pen position do not match after auto
calibration, you can calibrate manually.
- Press the Menu button, select the Extended menu, and press Enter.
- Select the Easy Interactive Function setting and press Enter.
- Select Manual Calibration and press Enter.
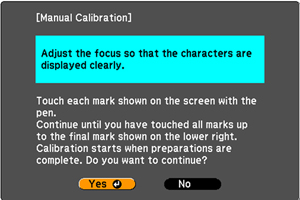
- Adjust the image focus, if necessary.
- Press Enter to select Yes. A flashing green circle appears in the upper left corner of your projected image.
- Touch the center of the circle with the tip of the
pen. The circle disappears, and you see another circle below
the first one.
Note: Make sure you are not blocking the signal between the pen and the interactive receiver (next to the projection window on the projector).
- Touch the center of the next circle, then repeat. When you
get to the bottom of the column, the next circle appears at the top
of a new column.
Note: If you make a mistake, press the Esc button on the remote control to go back to the previous circle. To restart the calibration process, press and hold the Esc button for 2 seconds.
- Continue until all of the circles disappear.