If you
notice that your paper does not cut cleanly, you may need to
replace the cutter.
Note: If the
optional SpectroProofer is installed, remove it before replacing
the cutter. See the instructions that came with the SpectroProofer
for details on removing it from your printer.
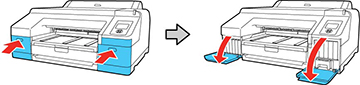
- Open the left and right ink cartridge covers.
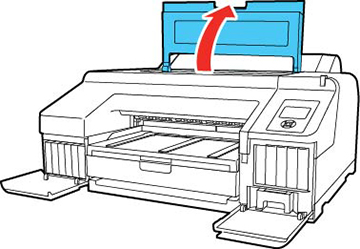
- Open the printer cover.
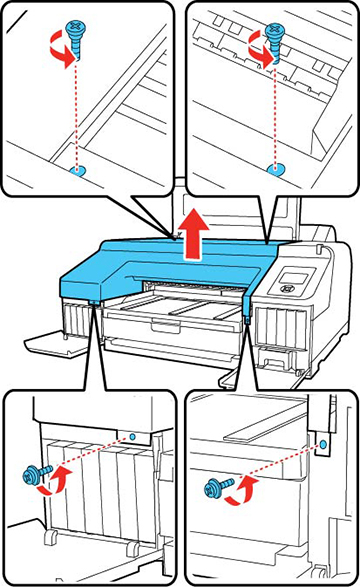
- Use a Phillips-head screwdriver to remove the four screws securing the front cover, then remove the front cover.
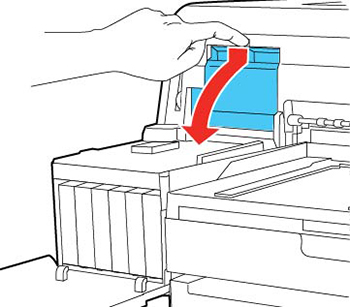
- Press in on the tab on the cutter cover, release it, and pull down on the cutter cover to open it.
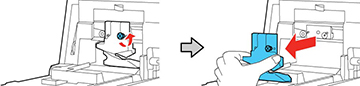
- Loosen the screw holding the cutter in
place and carefully remove the cutter.
Warning: Keep the cutter out of the reach of children. The blade is sharp and can cause injury.
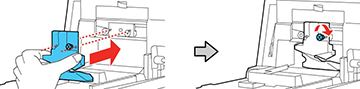
- Align the pin on the new cutter with the hole in the product and insert it. Tighten the cutter screw securely.
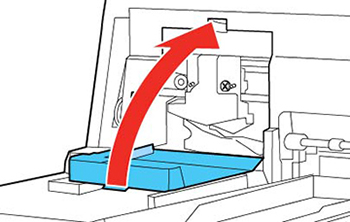
- Close the cutter cover as shown and
press it in until it clicks into place.
Note: If you removed the optional SpectroProofer, reinstall it. See the instructions that came with the SpectroProofer for details on installing it.
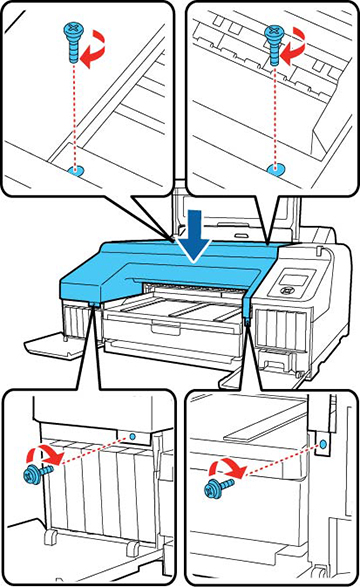
- Replace the front cover. Insert and tighten the four screws.