You can
print on a variety of paper types and sizes up to 17 inches (43 cm)
wide and 0.1 inch (0.27 mm) thick from the paper cassette.
- On the control panel, press the
 paper source button.
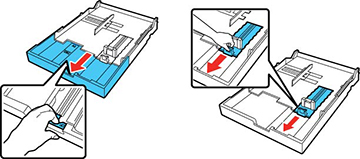
- Lift the edge of the output tray to remove it.
- Slide out the paper cassette, then pull it all the way out.
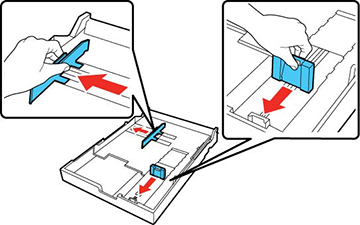
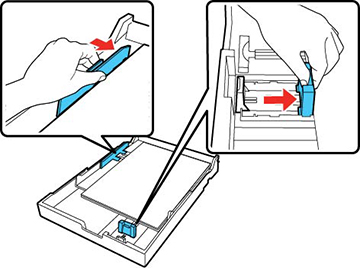
- Slide the edge guides outward.
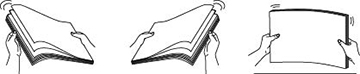
- Fan through a stack of paper, then gently tap it on a flat surface to even the edges.
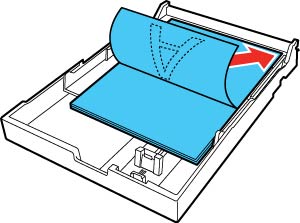
- Load the paper with the printable side facedown and short edge first. Place the paper all the way back in the paper cassette and next to the right edge. Make sure the paper fits under the arrow on the left edge guide.
- Slide the edge guides against the paper, but not too tightly.
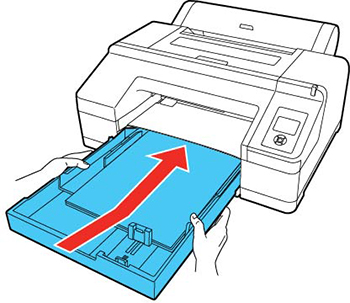
- Insert the paper cassette and push it firmly into the printer.
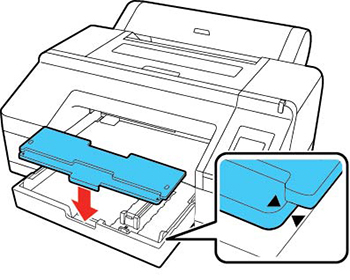
- Replace the output tray.
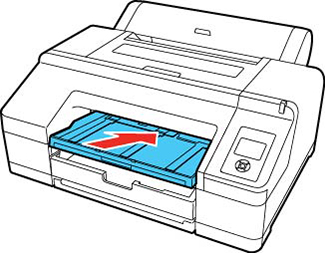
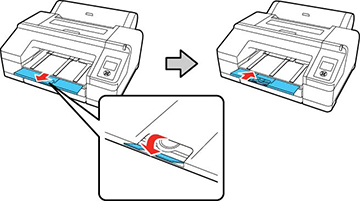
- Adjust the output tray to fit your
paper size.
A4 paper: Slide out the third extension, raise the paper stopper, and push the extension back in.
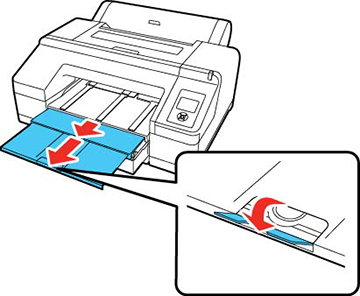
A3 paper: Pull out the third extension and raise the paper stopper.
Super A3 or larger paper: Pull out the second and third extensions and raise the paper stopper.