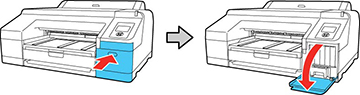
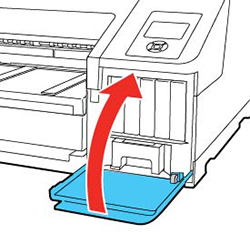
- Press the right ink cartridge cover to open it.
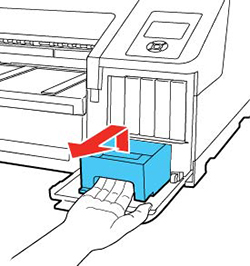
- Use the handle on the bottom of the
maintenance tank to carefully pull it out of the product without
tilting the tank.
Warning: If ink gets on your skin, wash it thoroughly with soap and water. If ink gets into your eyes, flush them immediately with water. If ink gets into your mouth, spit it out and see a doctor right away.
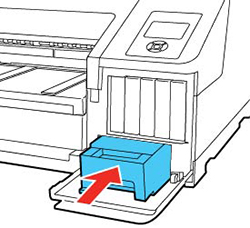
- Insert the new maintenance tank in the slot.
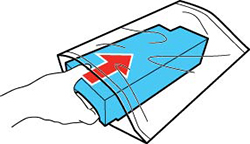
- Place the used maintenance tank in the bag supplied with the new tank and seal the bag.
- Close the ink cartridge cover.
Note: Dispose of used maintenance tanks carefully.