Make sure
you have your replacement ink packs handy before you begin. You
must install new ink packs immediately after removing the old
ones.
- If an ink pack is low or expended, you see a message on your product's LCD screen and on your computer screen. Note which ink packs need to be replaced.
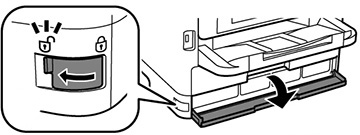
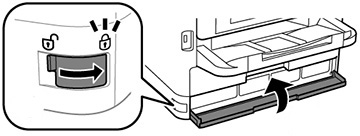
- Unlock and open the front cover.
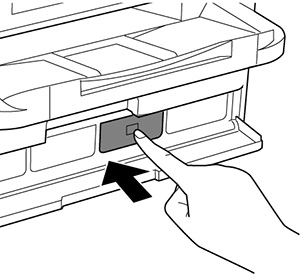
- Press the ink pack tray until it clicks and pull it out.
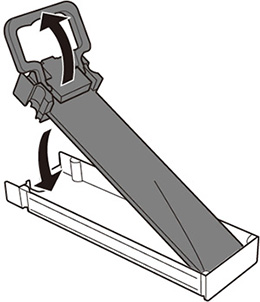
- Remove the used ink pack from the tray.
Note: Dispose of used ink packs carefully. Do not take the used ink pack apart or try to refill it.Warning: If ink gets on your skin, wash it thoroughly with soap and water. If ink gets into your eyes, flush them immediately with water. Seek medical advice if problems persist. If ink gets into your mouth, spit it out and see a doctor right away. Keep ink packs out of the reach of children.
- Shake the new ink pack 10 times and remove it from the
packaging.
Caution:Do not touch the green chip on the ink pack.
- Insert the new ink pack into the ink pack tray as shown. Make sure the top of the ink pack is level with the top of the tray.
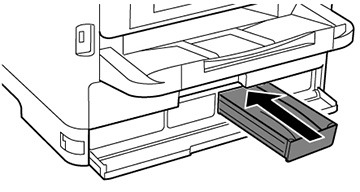
- Slide the ink pack tray into the product until it
clicks.
Note: If you cannot insert the tray all the way, make sure you are inserting the correct color ink pack and that the top of the ink pack is level with the top of the tray. The ink packs can only be inserted into the proper location.
- Repeat these steps for each ink pack you want to install.
- When you are finished, close and lock the front cover.
- Follow the on-screen instructions to charge your product's ink.