- If the
platen is not in the forward position, press the
 moveable base button to move the
platen forward.
moveable base button to move the
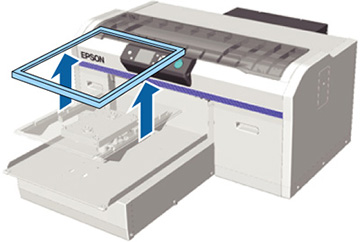
platen forward. - Remove the platen frame.
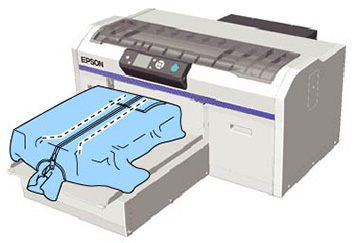
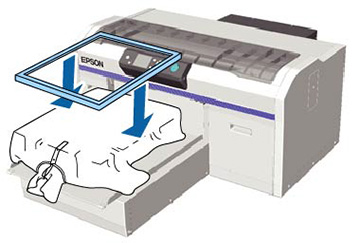
- Load the
shirt so that the shoulders are facing the front of the printer as
shown.
- For polo shirts: Make sure that the collar or button section of the shirt fits into the cutout on the platen. Then go to step 6.
- For shirts with zippers: Go to steps 4 and 5 to remove the middle piece of the platen. Replace the platen and make sure that the zipper section of the shirt fits into the removed section on the platen.
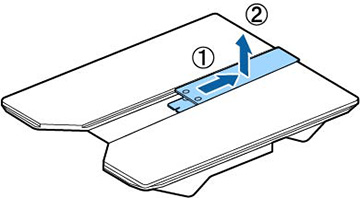
- Remove the screw as shown.
- Slide the middle part of the platen
back, then lift it up to remove it.
Note: Keep the removed screw and part in a safe place.
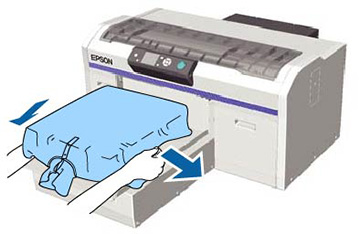
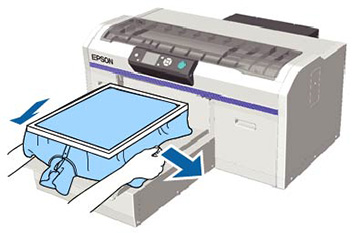
- Gently
pull the shirt over the edges of the platen to flatten it.
Note: Do not pull the shirt too much; otherwise, the print quality may decline.Note: Do not use the grip pad tool to smooth the surface when you are using the platen frame.
- Replace the platen frame.
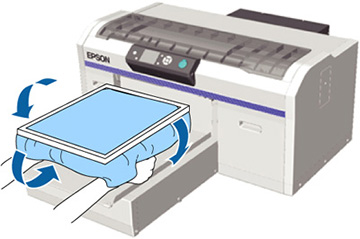
- Gently
pull the edges of the shirt outside of the frame to remove any
slack.
Note: The printer detects the highest part of the garment surface. If there are any wrinkles, creases or slack near the inside edge of the frame, a platen height error may occur or print quality may decline. Stretch the shirt to remove the slack, however, do not stretch it so much that the printed image will be distorted.
- Tuck the shirt around the platen so that it does not drape over the movable base.