You can
create a coloring book page from a photo on your memory card or
external USB device, or from a photo or drawing placed on the
scanner glass.
- Load one of these types of paper in either Letter (8.5 × 11 inches [216 × 279 mm]) or A4 (8.3 × 11.7 inches [210 × 297 mm]) size:
- Insert a memory card or external USB device or place a photo or drawing on the scanner glass.
- Press the
 home icon, if
necessary.
Note: If Auto Selection Mode is turned on in the Guide Functions menu, select to function index when you see the information screen.
home icon, if
necessary.
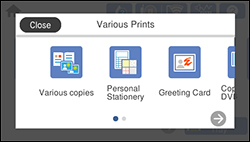
Note: If Auto Selection Mode is turned on in the Guide Functions menu, select to function index when you see the information screen. - Select Various Prints.
- Select Coloring Book then select OK on the next screen.
- Select one of the following settings:
- Select the size and type of paper that you loaded, and where you loaded it.
- If necessary, adjust the following settings:
- Do one of the
following:
- If you previously selected Scan an original, select To Placing Originals.
- If you previously selected Choose from the memory card, skip to step 12.
- Place the original facedown on the scanner glass, in the front right corner.
- Select To Check Printing.
- When you are ready to
print, press the Print
icon.
Note: To cancel printing, select Cancel and select Close to exit.