You
can attach a compatible lens to the projector.
Caution:
Unplug the power cord from the projector
before attaching the lens. Avoid touching the lens with your bare
hands to prevent fingerprints on or damage to the lens
surface.
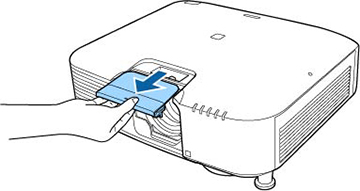
- Pull the lens cover off of the projector.
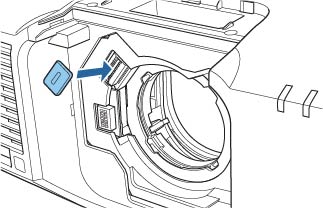
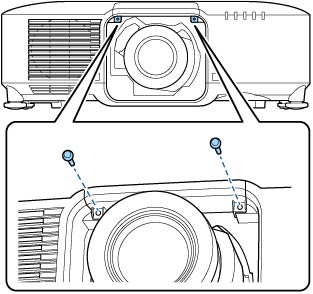
- Remove the stopper, if necessary.
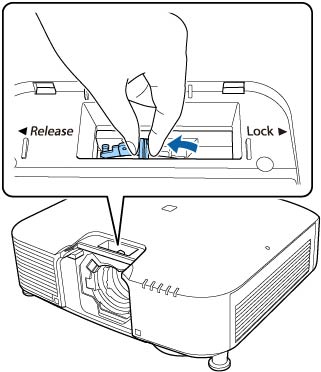
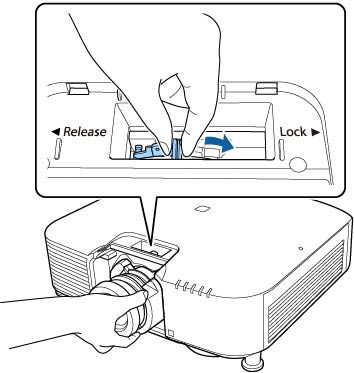
- Pinch the lock lever and move it to the Release position.
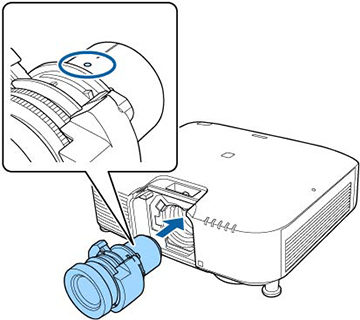
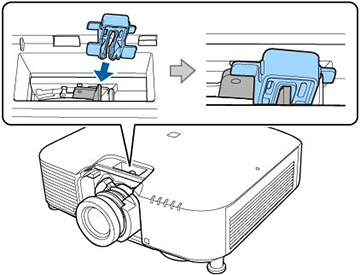
- Insert the lens straight into the projector's lens socket with the white dot facing up.
- Hold the lens firmly, then pinch the lock lever and move it to the Lock position.
- Reattach the stopper.
- Replace the lens cover.
-
If prompted, select Yes to calibrate the lens.
Note: Lens calibration helps the projector to correctly acquire the lens position and adjustment range, and can take up to 100 seconds to complete. When calibration is finished, the lens returns to the same position it was in before calibration (ELPLX01/ELPLX01W returns to the standard position).
- When using one of the following lenses, select the lens type in the Extended menu: ELPLS04, ELPLU02, ELPLR04, ELPLW04, ELPLM06, ELPLM07, or ELPLL07.