You can load
paper in a variety of types and sizes using the rear paper feed
slot. You can view instructions on how to load paper in the rear
paper feed slot on the control panel.
- Select the
 icon on the LCD
screen.
icon on the LCD
screen. - Select How To.
- Select Load paper.
- Select the paper type and source you want to use and follow the instructions on the screen to load paper in the product.
Always follow
these paper loading guidelines:
- Load only the recommended number of sheets.
- Load paper short edge first, no matter which way your document faces.
- Load the printable side faceup.
- Load letterhead or pre-printed paper top edge first.
- Check the paper package for any additional loading instructions.
- If loading pre-punched paper , make sure you load a single sheet of paper in a supported size (Letter (8.5 × 11 inches [216 × 279 mm]), Legal (8.5 × 14 inches [216 × 356 mm]), A3 (11.7 × 16.5 inches [297 × 420 mm]), A4 (8.3 × 11.7 inches [210 × 297 mm]), and A6 (4.1 × 5.8 inches [105 × 148 mm])) with holes facing as shown.
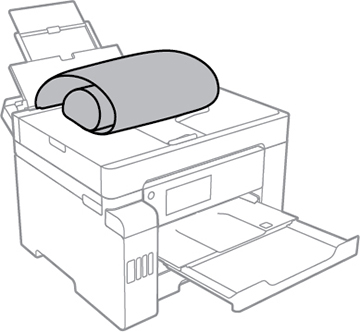
- If loading a long sheet of paper in a user-defined size, allow the edge to roll over and make sure the end of the paper is cut straight across.

Caution:
Do not use the following papers. Using
these papers may cause paper jams, smears on the printout, or
damage to the printer.
- Papers that are wavy or damp
- Papers that have not dried after printing on one side
- Papers that are wadded or curled
- Papers that are torn, cut, or folded
- Papers that are too thick or thin
- Papers that have stickers
- Envelopes that are curled or folded
- Envelopes that are too thin
- Envelopes with adhesive surfaces or windows
Note: When
printing on glossy photo papers, ink drying times increase
considerably (humidity, temperature, and other environmental
conditions can also affect photo drying times). To avoid smearing
your photos, do not touch the printed side until the ink is
completely dry. Moisture and oils from your skin can also affect
print quality, so avoid rubbing or scratching the surface of your
photos even after they dry.