You can scan
and review documents and photos in Epson ScanSmart.
Note: The images
in this guide show Windows screens. Mac screens may be slightly
different. Depending on your product model and software version,
not all options may be available.
- Open
Epson ScanSmart on your computer. Do one of the following:
- Windows 10: Click
 > Epson Software > Epson ScanSmart.
 - Windows 8.x: Navigate to the Apps screen and select Epson ScanSmart.
- Windows (other versions): Click
 or Start, and select All
Programs or Programs. Select
Epson Software > Epson ScanSmart.
or Start, and select All
Programs or Programs. Select
Epson Software > Epson ScanSmart. - Mac: Open the Applications folder, open the Epson Software folder, and select Epson ScanSmart.
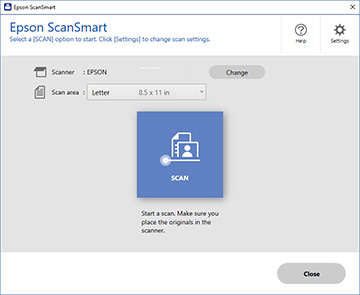
You see a screen like this:
- Windows 10: Click
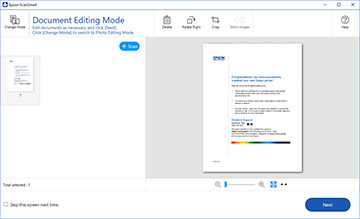
- Select SCAN. The original is scanned. When scanning is complete, you see a screen like this:
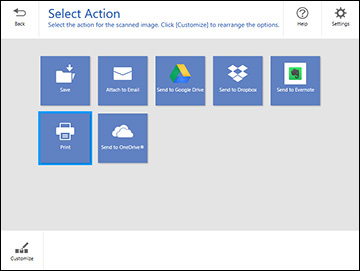
- When you finish reviewing and editing the scanned images, click Next. You see a screen like this: