- Turn off the product, and
unplug the power cord and any connected cables.
Warning: To avoid electric shock, make sure you unplug the power cord. To remove static electricity from your body, make sure you ground yourself before installing the Ethernet board.
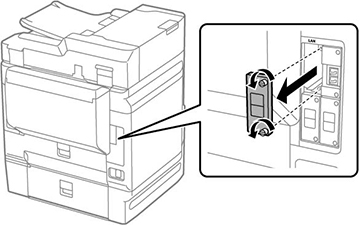
- Loosen the two screws and
remove the LAN cover from the
product.
Note: Store the cover in a safe place.
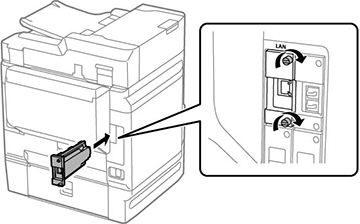
- Insert the Ethernet board
firmly into the interface slot and tighten the screws.
Caution:Do not remove the cover or touch the back of the Ethernet board.
- Connect the power cord and other connection cables, then plug in the product.
- Turn on the product.
- Press the
 Job/Status button, select Options, and make sure the Ethernet board
appears.
Job/Status button, select Options, and make sure the Ethernet board
appears.
- Press the
 home button to return to the
home screen.
home button to return to the
home screen.
- Select Settings > General Settings > System Administration > Firmware Update > Update to update the firmware.