Replace the
maintenance box when a message or icon is displayed on the LCD
screen telling you that the maintenance box is near or at the end
of its service life.

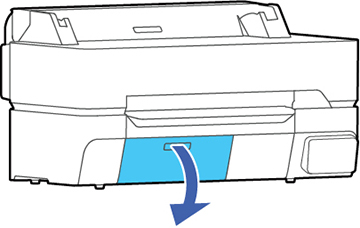
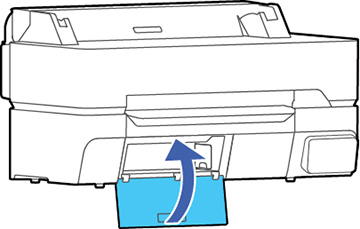
- Open the maintenance box cover.
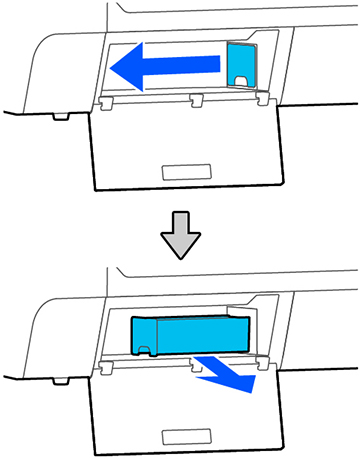
- Pull out the maintenance box.
Warning: If ink gets on your skin, wash it thoroughly with soap and water. If ink gets into your eyes, flush them immediately with water. If ink gets into your mouth, spit it out and see a doctor right away.
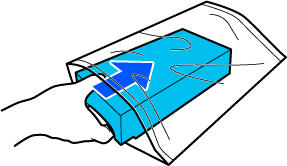
- Place the used maintenance box in the clear plastic bag (included with the replacement maintenance box) and make sure it is closed tightly.
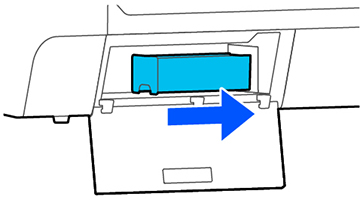
- Insert the new maintenance box into
the printer.
Caution:Do not touch the chip on the maintenance box or you may damage the product.Note: Repeat the above procedure for the second maintenance box on the SureColor T5475, if necessary. If you are only replacing one of the maintenance boxes, make sure it is the correct one.
- Close the maintenance box cover.