Note: To register
presets using Web Config, select Presets on the Scan tab and follow the
instructions on the screen.
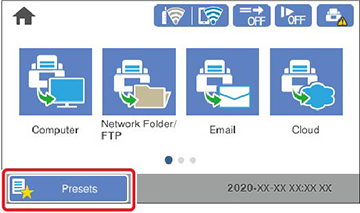
- Select the
 home icon, if necessary.
- Select Presets.
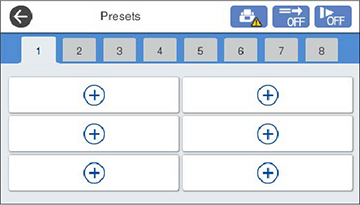
- Select a + icon.
- Select the scanning option you want to
register as a preset.
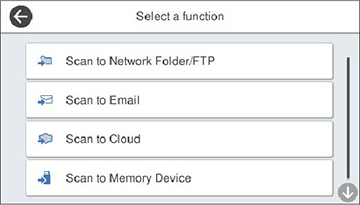
Note: For some scanning options, it is best to configure the destination information (such as email contacts or network folders) before registering the preset. You can still configure the destination information while registering the preset, but if it is configured beforehand, you can simply make your selections from the existing list. - Tap the
 Register icon to register the preset.
- Select the
 return home icon to return to
the home screen.
return home icon to return to
the home screen.