You can use
Document Capture Pro to scan multi-page originals as separate
scanned files. You can indicate how the separate files are created
by defining a maximum page count per file or by inserting blank
pages, barcodes, or characters that can be detected by the software
as separation markers.
Note: Settings may
vary depending on the software version you are using. Click the
Help icon in Document Capture Pro at
any time for more information.
- Load
your multi-page original in the product.
- Do one
of the following to start Document Capture Pro:
- Windows 11: Click
 , then search for Document Capture Pro and select it.
- Windows 10: Click
 and select Epson Software > Document Capture Pro.
- Windows 8.x: Navigate to the Apps screen and select Document Capture Pro.
- Windows (other versions): Click
 or
Start, and select All Programs or Programs. Select Epson
Software > Document Capture
Pro.
or
Start, and select All Programs or Programs. Select Epson
Software > Document Capture
Pro.
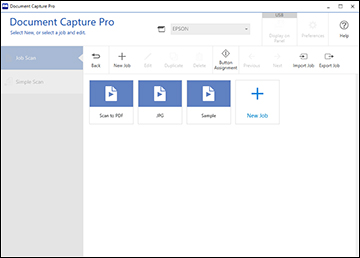
You see the Document Capture Pro window.
- Select the Job
Scan tab.
You see a window like this:

- Click the Job
Settings button.
You see a window like this:
- Select New
Job and select the scan settings. Click Next when finished.
You see a window like this:
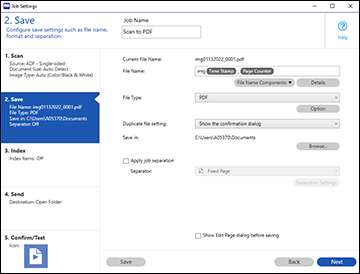
- Select the Apply job separation checkbox.
- Select
the method you want to use to separate the originals as the
Separator setting. Click
Separation Settings to specify the
settings for the selected option.
- Finish creating the new scan job and
click Save.
- Click Back on the Job Settings screen.
Your originals are saved into
separate files and folders as specified when the job is run.