Replacing the Cutter

If you notice that your paper does not cut cleanly, you may need to replace the cutter. You will need a Phillips-head screwdriver.
Caution:
Store the replacement cutter out of the reach of children. Do not remove the protective material from the new cutter until instructed to do so. Do not drop the cutter or knock it against anything or you may chip the blade.
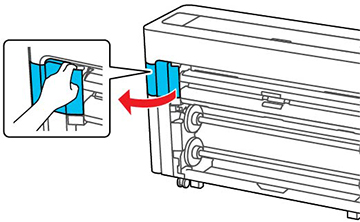
  1. Remove all paper from the printer.
  2. Select the Menu icon.
  3. Select Maintenance > Replace Auto cutter blade > Start. The cutter moves to the replacement position.
  4. Open the maintenance cover.


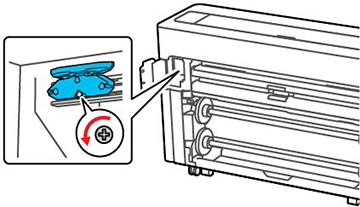
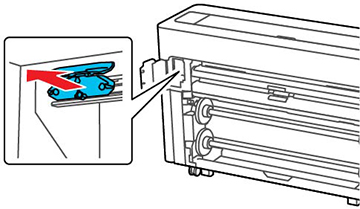
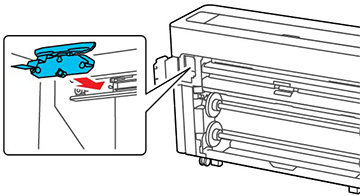
  5. Use a Phillips-head screwdriver to loosen the screw holding the cutter in place and carefully remove the cutter. Place the cutter in a plastic bag and dispose of it properly.


    Warning: Keep the cutter out of the reach of children. The blade is sharp and can cause injury.
  6. Install the new cutter in the product with the protective material still attached.


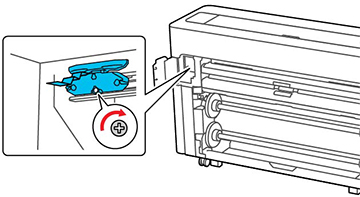
  7. Tighten the cutter screw securely.


    Note: Make sure the screw is tightened securely, otherwise the cut position may be slightly shifted or skewed.
  8. Close the maintenance cover.
  9. Select OK. The cutter moves into position and cuts off the protective piece. Remove the protective piece from the printer.
Related references
Optional Equipment and Replacement Parts (U.S./Canada)
Optional Equipment and Replacement Parts (Latin America)