When you finish printing on roll paper, remove
it from the printer to avoid indenting or creasing the paper.
Note: On single
roll models (SureColor P6570E/T3770E), Roll
1 appears as Roll on the LCD
screen. The images in this section show a dual roll model, but the
instructions are the same unless otherwise noted.
Note: If you
enabled Remaining Amount Management,
the printer prints a barcode on the leading edge of the roll when
you remove the roll paper. When you reload the paper, the printer
reads the barcode and automatically sets the paper type and amount
remaining.
- Store the paper basket, if
necessary.
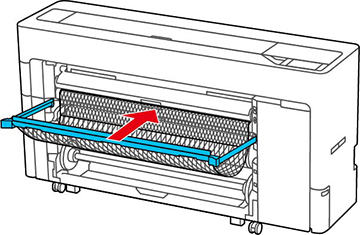
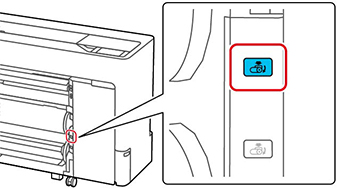
- On the
LCD screen, select
 > Paper
Setting > Roll 1 or
Roll > Remove.
The printer rewinds the roll paper.
> Paper
Setting > Roll 1 or
Roll > Remove.
The printer rewinds the roll paper.
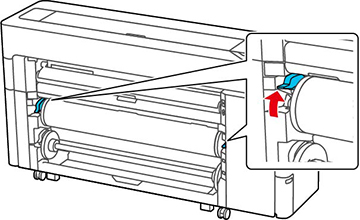
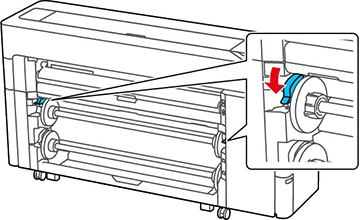
- Pull up the lock lever on the roll
paper holder to release it.
Note: Make sure you pull the lock lever all the way up to unlock it completely.
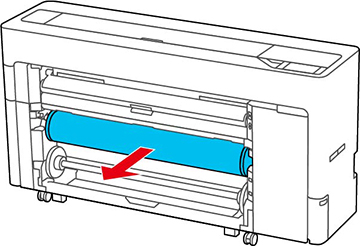
- Lift the roll paper out of the printer to remove it.
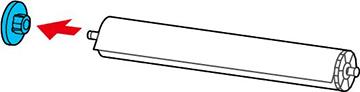
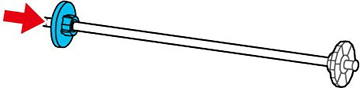
- Remove the transparent paper stop from the spindle.
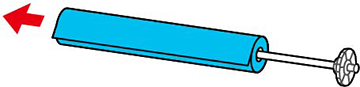
- Remove the spindle from the roll paper.
- Reattach the transparent paper stop to the spindle.
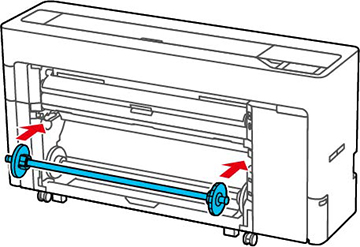
- Place the spindle into the grooves on the printer with the black end of the spindle on the right.
- Push down the lock lever on the roll paper holder to lock it in place.