Load paper in the Roll 2 unit and set up Roll 1 for auto take-up.
Note: Make sure
Auto Cut is set to Off when you use the Auto Take-up
function.
- Select
 > General
Settings > Printer
Settings > Paper Source
Settings > Roll Paper
Setup > Roll 1 Function
> Take-up.
> General
Settings > Printer
Settings > Paper Source
Settings > Roll Paper
Setup > Roll 1 Function
> Take-up.
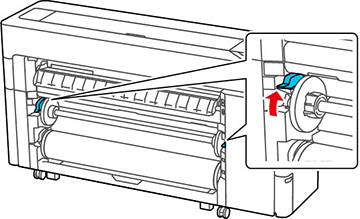
- Pull up the lock lever on the Roll 1
spindle.
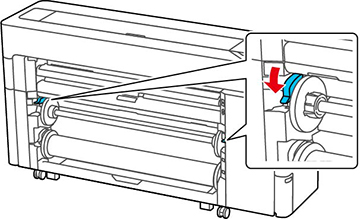
Note: Make sure you pull the lock lever all the way up to unlock it completely.
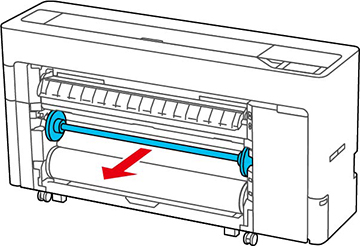
- Remove the spindle.
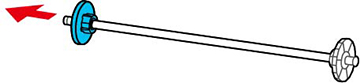
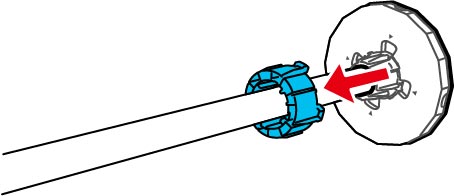
- Remove the transparent paper stop from the spindle.
- Remove the rim of the paper stop from the end of the spindle.
- Do one of the following:
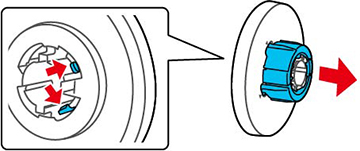
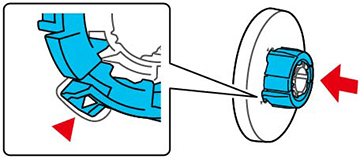
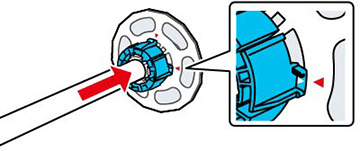
- 2-inch roll core: If installed, remove the core adapters from both paper stops. Push the two tabs on each paper stop to remove the adapter.
- 3-inch core: Install the core adapters on both paper stops. Align the triangle marks on the paper stop with the triangle marks on the adapter and push the adapter in until the tabs are secured.
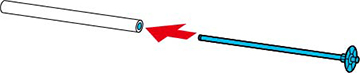
- Insert the spindle into the roll core as shown.
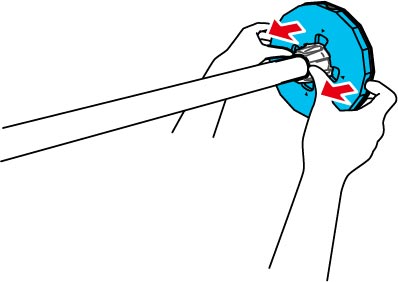
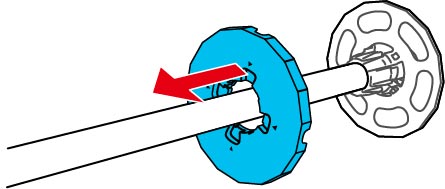
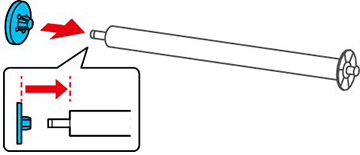
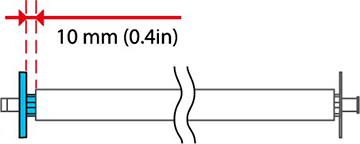
- Attach the transparent paper stop to
the spindle so that the gap between the paper stop and the roll
core is approximately 0.4 inches (10 mm).
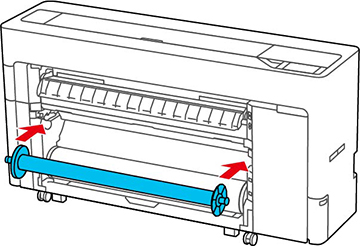
- Place the spindle into the grooves on the printer with the black paper stop on the right.
- Push down the lock lever on the Roll 1 spindle to lock it in place.
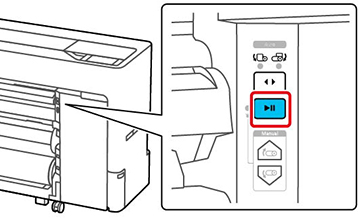
- Press the pause/resume button.
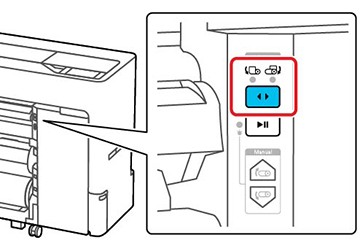
- Use the take-up direction switch to select either printable side in (right) or printable side out (left), then press the pause/resume button again.
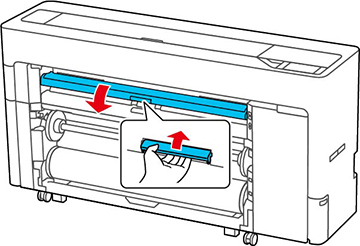
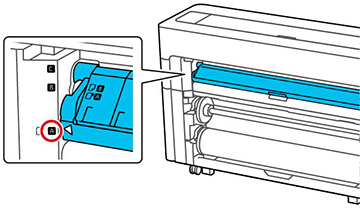
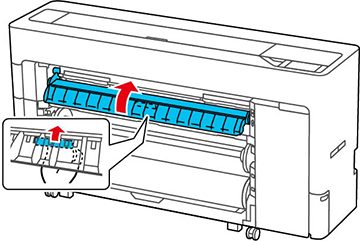
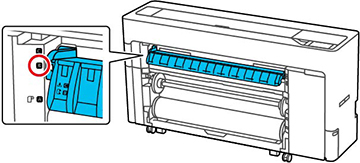
- Lift up the paper support lock lever to release the paper support, then set the paper support to position A (the lowest position) as shown.
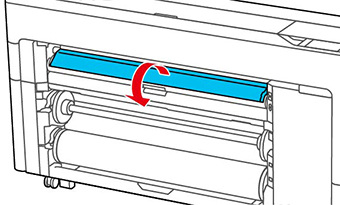
- Open the paper output flap.
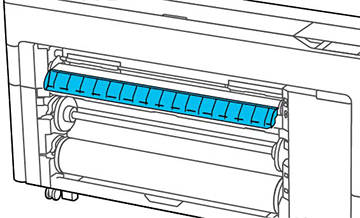
- With the paper output flap extended, lift up the paper support lock lever to release the paper support, then set the paper support to position B (the middle position) as shown.
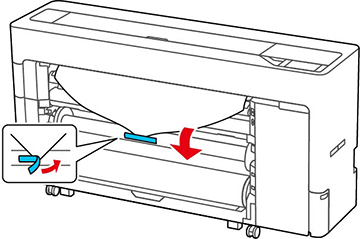
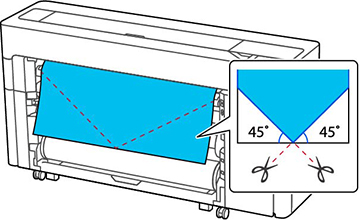
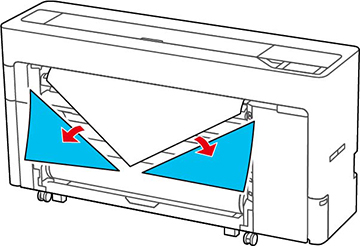
- Cut the leading edge of the paper as
shown.
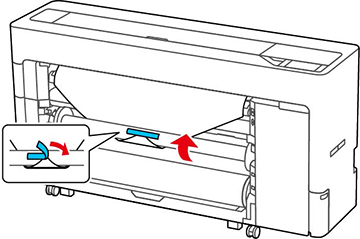
- Confirm the take-up direction and tape
the edge of the media to the center of the core as shown.
- Printable side out
- Printable side in
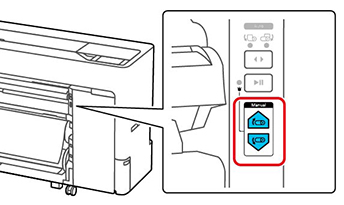
- Press and hold the Manual take-up button to wind the roll paper
once around the roll core.