The
maintenance box stores ink that gets flushed from the system during
maintenance operations such as head cleaning. Replace the
maintenance box when you see a message on the LCD screen.
Note: Do not
replace the maintenance box while printing, otherwise ink may
leak.
- Check the LCD screen to determine which maintenance box needs to be replaced.
- Remove the new maintenance box from
the package.
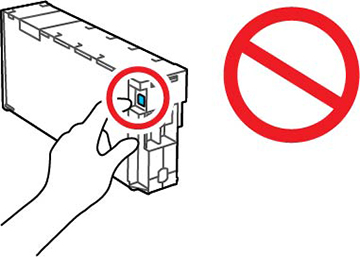
Caution:Do not touch the chip on the side of the maintenance box or you may prevent normal operation and printing.Note: Do not reuse a maintenance box you have removed from the printer and exposed to air for a long period of time. The box will not absorb any more ink.
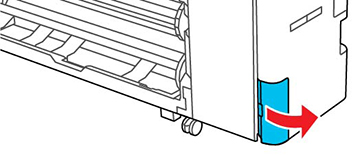
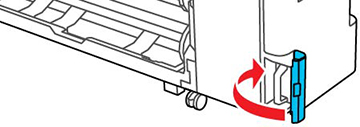
- Open the maintenance box cover.
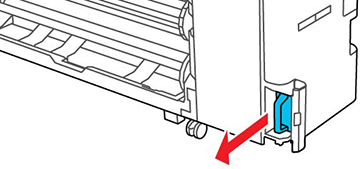
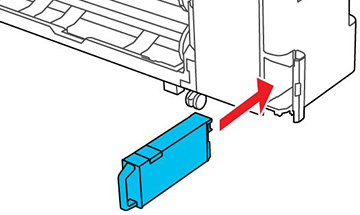
- Use the handle on the maintenance box
to carefully pull it out of the product without tilting the
box.
Warning: If ink gets on your skin, wash it thoroughly with soap and water. If ink gets into your eyes, flush them immediately with water. If ink gets into your mouth, spit it out and see a doctor right away.
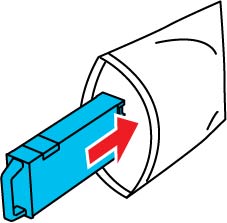
- Place the used maintenance box in the
bag supplied with the new box and seal the bag.
Note: Do not tilt the maintenance box until the bag is firmly sealed, otherwise ink may leak.
- Insert the new maintenance box in the slot and push it in firmly.
- Close the maintenance box
cover.
Note: Dispose of the used maintenance box carefully.