If you see a message that paper has jammed inside
the product, follow the steps here.
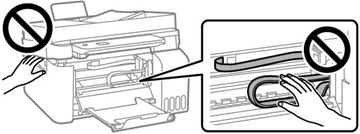
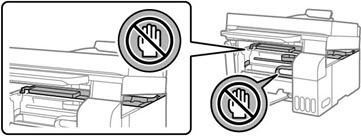
Warning: Never
touch the buttons on the control panel while your hand is inside
the product. If the product starts operating, it may cause an
injury. Do not touch any protruding parts inside the product. Be
careful not to trap your hand or fingers when opening or closing
the scanner unit.
Caution:
Remove the jammed paper carefully. Removing
the paper forcefully may cause damage to the printer. When removing
jammed paper, avoid tilting the printer, placing the printer
vertically, or turning the printer upside down; otherwise ink may
leak.
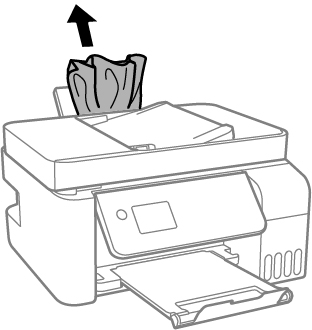
- Cancel the print job, if necessary.
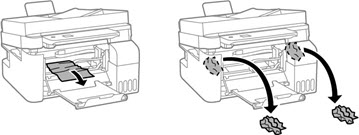
- Remove any jammed paper from the rear paper feeder.
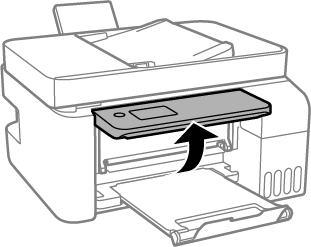
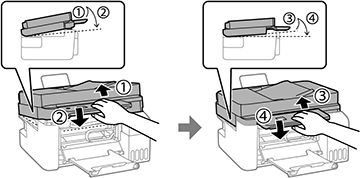
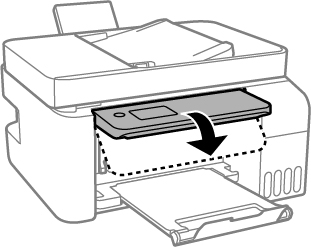
- Raise the control panel.
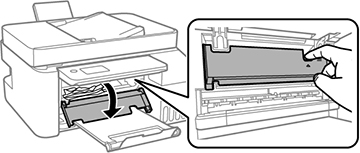
- Open the inner cover.
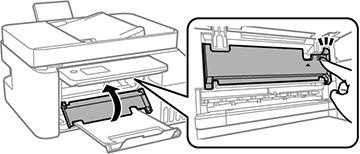
- Lift up the scanner unit until it clicks into place.
- Remove any jammed paper inside.
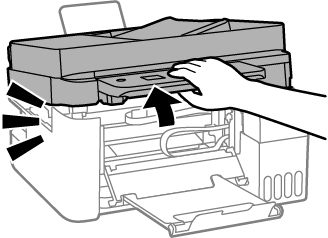
- Lift the
scanner unit up slightly and lower it. When the scanner unit
catches, lift it up again and lower it completely.
Note: The scanner unit must be closed completely before it can be opened again.
- Close the inner cover.
- Lower the control panel.
- Follow the prompts on the LCD screen to clear any error messages.