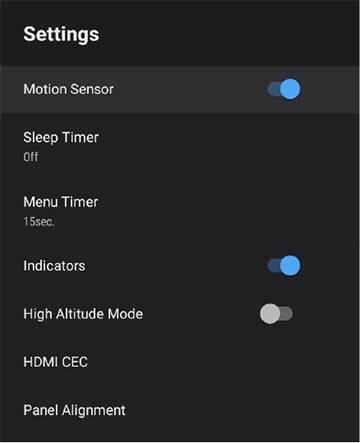
Adjusting the Color Convergence (Panel Alignment)

You can use the Panel Alignment feature to manually adjust the color convergence (the alignment of the red and blue colors) in the projected image. You can adjust the pixels horizontally and vertically up to ±3 pixels in 0.125 pixel increments.
Note: You can adjust only the red or blue color convergence. Green is the standard color panel and cannot be adjusted.
Note: Image quality may decline after you perform Panel Alignment.
Note: Images for pixels that extend beyond the edge of the projected screen are not displayed.
  1. Turn on the projector.
  2. Press the  settings button on the remote control.
  3. Select the Settings menu and press Enter. You see a screen like this:


  4. Select the Panel Alignment setting and press Enter.
  5. Set the Panel Alignment setting to On.
  6. Select the Select Color setting and choose one of the following:
    • R to adjust the red color convergence.
    • B to adjust the blue color convergence.
  7. Select the Pattern Color setting and choose one of the following as the grid color you want to use when making adjustments. (The available color varies depending on the Select Color setting.)
    • R/G/B to display the grid color in white.
    • R/G to display the grid color in yellow. (R/G is only displayed when Select Color is set to R.)
    • G/B to display the grid color in cyan. (G/B is only displayed when Select Color is set to B.)
  8. Select Next and press Enter.
  9. Select the Select Method setting and choose one of the following:
    • Select Whole Panel to adjust the whole panel at the same time, and continue with the next step.
    • Select Four Corners to adjust the corners of the panel one at a time, and skip to step 13.
  10. Use the directional pad on the remote control to adjust the color alignment of the color you selected for the Select Color setting.
  11. When you are finished adjusting the screen, press Enter.
    Note: Adjustment affects the grid lines in the entire screen.
  12. Select one of the following options:
    • Select Four Corners to fine-tune your adjustments.
    • Select Exit to finish making adjustments.
  13. Use the directional pad on the remote control to adjust the color alignment in the corner of the screen.
  14. Press the Enter button to move to the next corner of the screen.
  15. When you are finished adjusting each corner of the screen, press Enter.
  16. Do one of the following:
    • If your projector's panel alignment is now correct, select Exit and press Enter to return to the Panel Alignment menu.
    • If your projector needs additional panel alignment, select Fine Adjustment and press Enter. Use the directional pad on the remote control to highlight the corner of any misaligned box on the screen, press Enter, make any necessary adjustments, and press Enter again. Repeat this step as necessary for the other intersections.