You may need
to attach or remove spacers, depending on the platen type and the
fabric thickness.
Note: If you are
printing on film, make sure that both spacers A and B are
attached.
- If the
platen is not in the forward position, press the
 moveable base button to move the
platen forward.
moveable base button to move the
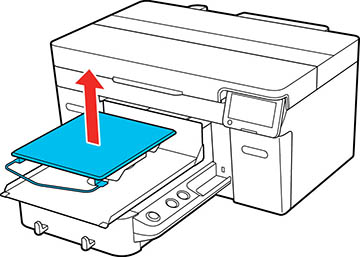
platen forward. - Remove
the platen from the printer, if necessary. Hold the platen on the
left and right side and then lift it straight up.
Note: If the sleeve platen is installed, remove the fixing band before lifting the platen.
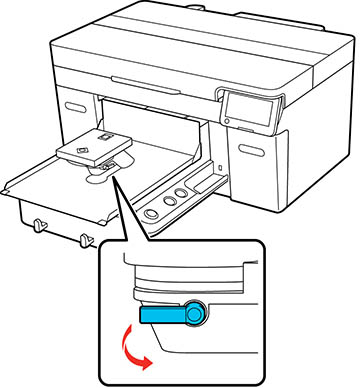
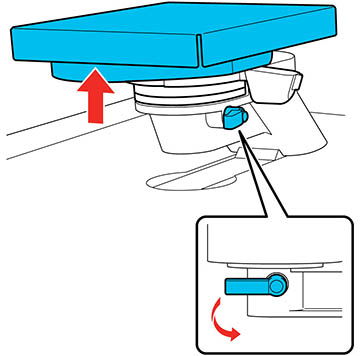
- Rotate the fixing lever as shown to loosen it.
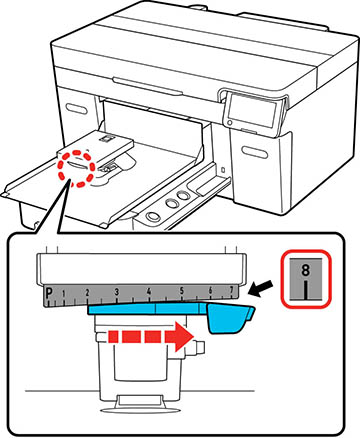
- Move the lever to the right to set the scale to setting 8.
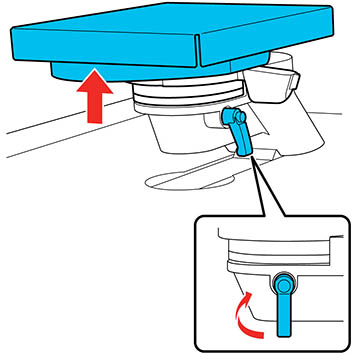
- Secure the platen gap lever in the raised position by lifting the part shown below and then tightening the fixing lever.
- Lift the platen gap lever and remove the spacer.
- Combine
the spacers according to the type of platen you are using and the
thickness of the media.
Note: The letters A and B are stamped on the side of the spacers. When you are using two spacers, stack them as shown below.
- Lift the platen gap lever and attach a spacer.
- Lift the part shown below and then loosen the fixing lever.