- Select the
 cut icon.
- Do one of the following:
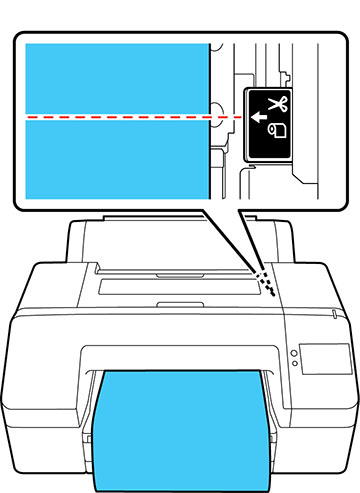
- If you want to move the paper into a different cutting
position, press and hold the
 or
or  icon until the cut location reaches
the cutting position labeled on the printer, and then select
Cut.
icon until the cut location reaches
the cutting position labeled on the printer, and then select
Cut.
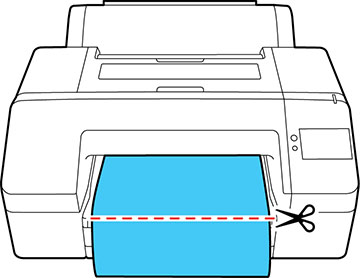
- If you don't need to reposition the paper, select Cut to cut the paper with the built-in cutter.
Note: The minimum length of paper you can cut with the built-in cutter is 3.15 in. (80 mm) or 5 inches (127 mm), depending on the paper type. These minimum lengths cannot be changed. Paper is automatically fed if the length is shorter than the minimum. Cut any excess paper by hand, as necessary. - If you want to move the paper into a different cutting
position, press and hold the