Note: If the
remaining ink in a cartridge falls below the minimum amount, you
can continue printing after replacing the ink cartridge. If the
remaining ink level is below the minimum amount and printing is
continued, then you may need to replace the ink cartridge during
printing. If you replace it while printing, colors may look
different depending on how the ink dries. We recommend first
replacing the ink cartridge with a new one before printing. The
removed ink cartridge can be reinstalled and used until the
remaining amount falls below the minimum amount.
Note: This product
is designed to work with genuine Epson inks. Non-Epson ink or any
other ink not specified for this printer could cause damage not
covered by Epson's warranties.
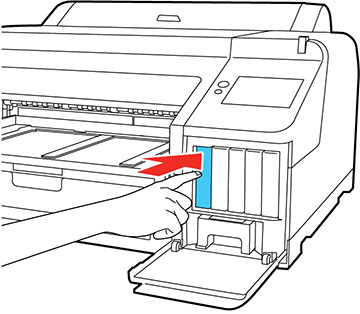
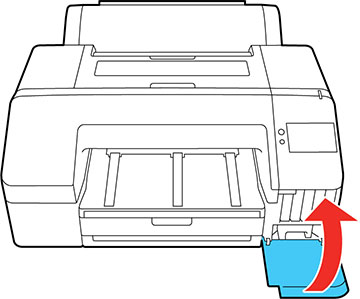
- Press the ink cartridge cover to open it.
- Press in on the ink cartridge you want
to replace.
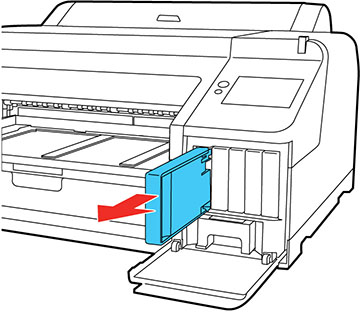
Note: Used ink cartridges may have ink around the ink supply port, so be careful not to get any ink on the surrounding area when removing the cartridges. Dispose of used cartridges carefully. Do not take the used cartridge apart or try to refill it.Warning: If ink gets on your skin, wash it thoroughly with soap and water. If ink gets into your eyes, flush them immediately with water. If ink gets into your mouth, spit it out and see a doctor right away. If you swallow ink, swallow lots of water and induce vomiting and see a doctor right away. Keep ink cartridges out of the reach of children.You hear a click and the ink cartridge pops out slightly. - Carefully pull the ink cartridge straight out.
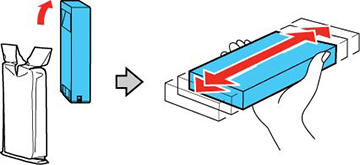
- Remove the new cartridge from the package and then gently shake the cartridge for 5 seconds, or about 15 times, in approximately 2 inch (5 cm) horizontal movements.
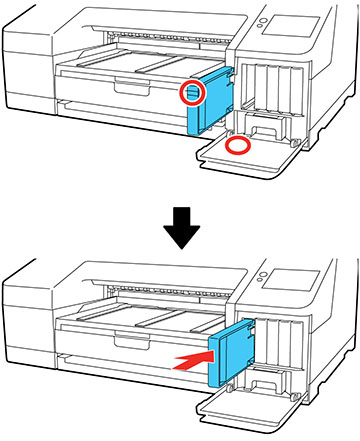
- Make sure the color of the ink cartridge matches the color of the label on the inside of the ink cartridge cover, and then insert the ink cartridge until it clicks.
- Close the ink cartridge cover.

Note: Do not open
any covers or turn off the product during ink charging.
Caution:
If you remove an ink cartridge for later use,
protect the ink supply area from dirt and dust and store it in the
same environment as the printer. The valve in the ink supply port
is designed to contain any excess ink, but do not touch the ink
supply port or surrounding area. Always store ink cartridges with
the label facing up; do not store cartridges
upside-down.