- Make sure there are no errors on the LCD screen.
- Visually check the ink levels and make sure each ink tank
is at least one-third full.
If you run Power Ink Flushing when the ink levels are low, you may damage the product.
- Do one of the
following:
- Windows:
Access the Windows Desktop and right-click the
 icon for your product in the right
side of the Windows taskbar, or click the up arrow and right-click
. Select Printer Settings and click the Maintenance tab.
icon for your product in the right
side of the Windows taskbar, or click the up arrow and right-click
. Select Printer Settings and click the Maintenance tab. - Mac: In the Apple menu or the Dock, select System Preferences. Select Print & Fax, Print & Scan, or Printers & Scanners, select your product, and select Options & Supplies. Select Utility and select Open Printer Utility.
- Windows:
Access the Windows Desktop and right-click the
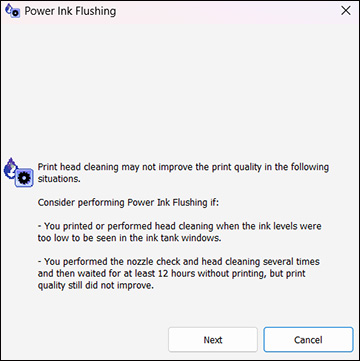
- Click the Power Ink Flushing button. You see a window like this:
- Follow the on-screen instructions to flush the ink tubes.
- When you finish flushing the ink tubes, run a nozzle check and check the results. If there are gaps in the nozzle check pattern, contact Epson support.