You
can attach a compatible lens to the projector.
Caution:
Unplug the power cord from the projector
before attaching the lens. Avoid touching the lens with your bare
hands to prevent fingerprints on or damage to the lens surface.
- Turn the projector off and unplug the power cord.
-
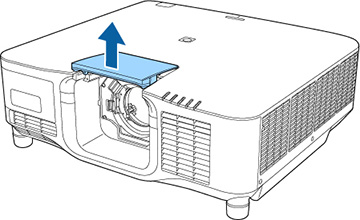
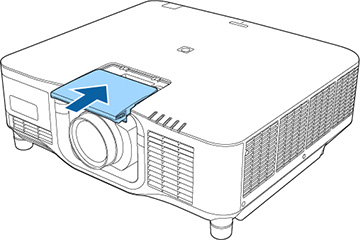
Pull the lens replacement cover off of the
projector.
Note: If necessary, remove the lens socket cap from the lens socket.
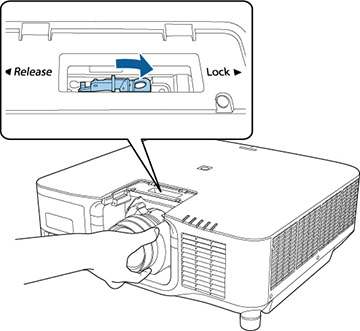
- Pinch the lock lever and move it to the Release position.
-
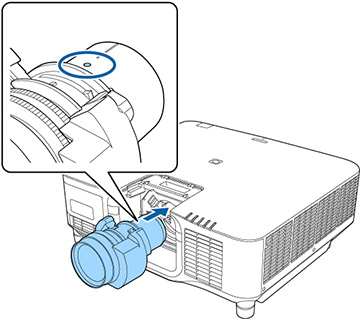
Insert the lens straight into the projector's
lens socket with the white dot facing up.
Caution:Make sure you do not get your fingers caught between the lens and projector.
-
Hold the lens firmly after it is fully
inserted, then pinch the lock lever and move it to the Lock position.
Note: Make sure the lens is securely attached and that you do not touch the glass surface of the lens.
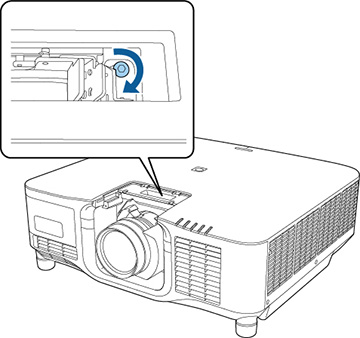
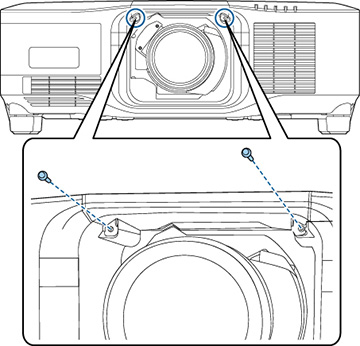
- If you want to secure the lens more firmly, tighten the screw next to the lock lever with a 2.5 mm hexagonal wrench.
- Replace the lens replacement cover.
-
Turn on the projector to perform lens
calibration. When you see a message prompting you to begin lens
calibration, select Yes.
Note: Lens calibration helps the projector to correctly acquire the lens position and adjustment range, and can take up to 100 seconds to complete. When calibration is finished, the lens returns to the same position it was in before calibration. The ELPLX02S and ELPLX02WS lenses return to the standard position.Note: If no message appears after attaching the lens, perform lens calibration by holding down the Default button on the remote control for approximately 3 seconds, or you can go to Extended > Operation > Lens Calibration in the projector menu.