Clean the sensor cover when you see a message on the LCD screen to do so.
Note: If you
continue to use the printer without cleaning the sensor cover, the
printer may not detect the position of the platen and you cannot
print.
- Do one
of the following:
- If a message appears on the LCD screen prompting you to clean the sensor cover, select the message and then select Cleaning.
- If you want to clean the sensor cover before the message
appears, select
 Maintenance > Cleaning the Maintenance Parts > Sensor Cover.
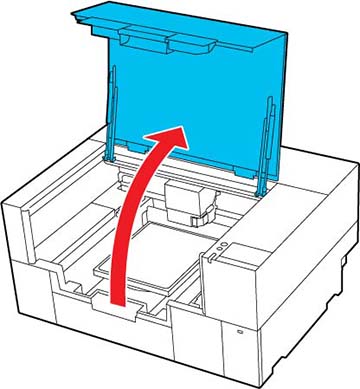
A confirmation message is displayed. - Open the printer cover.
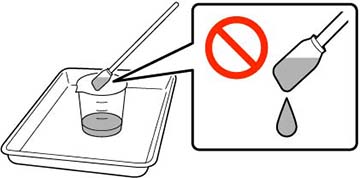
- Fill the cup supplied with the maintenance kit with pure water and place a cleaning swab in the cup and let it soak in. Make sure that the solution does not drip from the cleaning swab or cleaning wipe when you remove it from the cup.
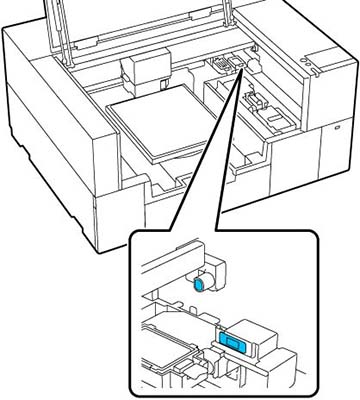
- Lightly dampen the two sensor covers on the right side (the areas shown in the illustration) with a cleaning stick soaked in pure water.
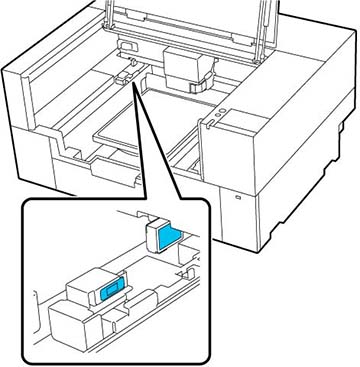
- Repeat steps 6 and 7 to clean the two sensor covers on the left side (the areas shown in the illustration).