Note: Make sure
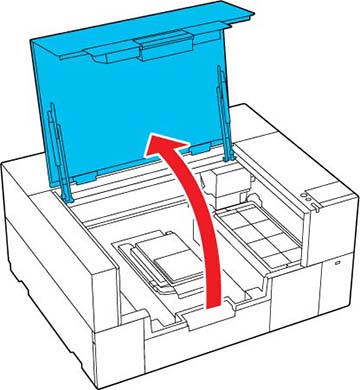
that the sleeve platen is installed on the printer.
- Open the printer cover.
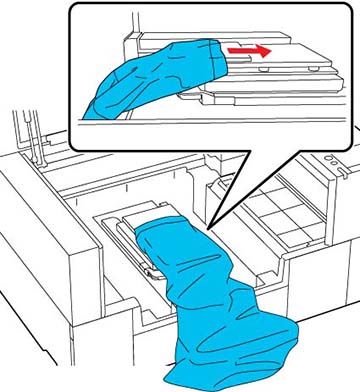
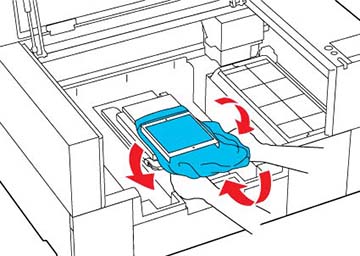
- Slide the sleeve over the platen. Load the T-shirt so that the side seams and sleeve seams are not on the top. If there are raised sections, such as seams, an error may occur or the print quality may decline.
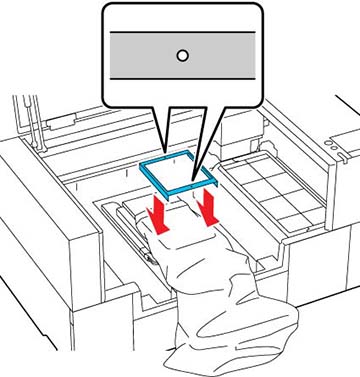
- Flatten the printing surface and attach the platen frame. Load it so that the small holes in the frame are at the front and back.
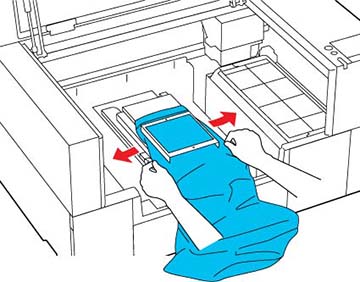
- Gently pull the edges of the sleeve outside of the frame to remove any slack.
- Tuck the garment around and under the frame so that it does not drape over the base.