You
can quickly optimize your projected image by selecting image
adjustment settings and saving them as a preset you can reuse
later. You can save up to five presets.
- Turn on the projector and switch to the image source you want to use.
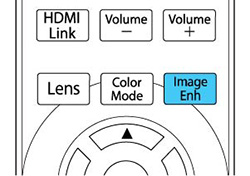
- Press the Image Enh button on the remote
control.
Note: You can also access this setting from the projector's Image menu.
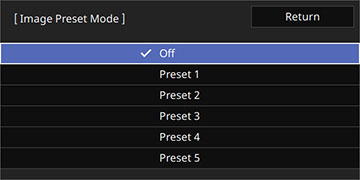
- Select the preset you want to adjust and press Enter.
- Select Return or press Esc to return to the previous menu.
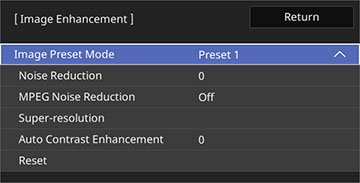
- Adjust each setting for
the preset as necessary.
- Adjust the Noise Reduction setting to reduce flickering in images.
- Adjust the MPEG Noise Reduction setting to reduce the noise or artifacts seen in MPEG video.
- Adjust the Super-resolution setting to reduce blurring when projecting low-resolution images.
- Adjust the Auto Contrast Enhancement setting to create a clearer and sharper image by automatically adjusting the contrast.
- Press Menu or Esc to exit the menus.