- Make sure there are no errors on the LCD screen and the CD/DVD tray is not inserted for printing.
- Load a few sheets of plain paper in Cassette 2.
- Press the
 home button, if
necessary.
home button, if
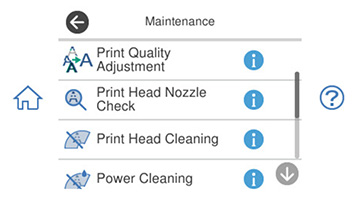
necessary. - Select Maintenance. You see a screen like this:
- Select Print Quality Adjustment. You see a screen like this:
- Select Start. The print quality adjustment pattern prints.
- Follow the on-screen instructions to scan the adjustment pattern.