CAUTION:
Continued use of damaged or deformed media
edge guides may damage the printheads.
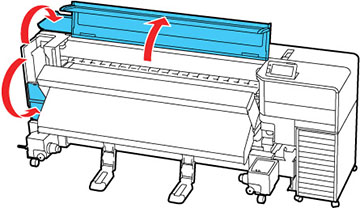
- Wait one minute and then open the left maintenance cover and the printer cover.
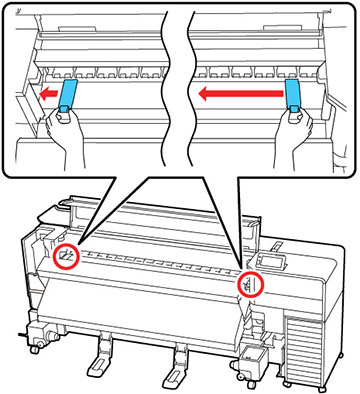
- Grasp the tabs on the media edge guides and slide them to the left edge of the platen.
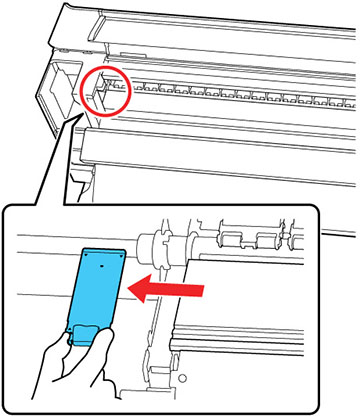
- Remove the left media edge guide as shown, then remove the right media edge guide in the same manner.
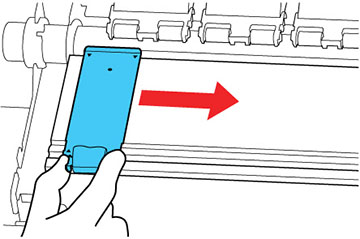
- Insert a new media edge guide into the left edge of the platen. Align the platen rail with the triangle holes for the media edge guides and insert as shown.
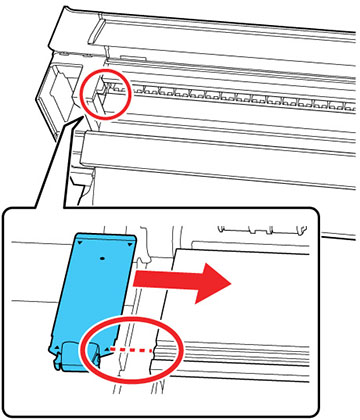
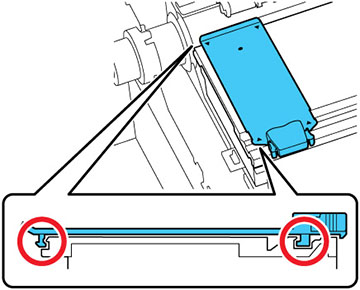
- Check that two hooked sections on the back of the media edge guide are securely applied as shown below and that they are attached with no gap between the platen and media edge guide.
- Grasp the tabs on the media edge guides and slide them to the left and right edges of the platen. Release the tabs when they are in position.